


Place the capo directly behind the fret wire, not between frets, and clamp it firmly without crushing the strings. Then strum the open strings and re-tune with the capo still on. Use a curved-pad capo on a steel-string guitar and a flat-pad one on a classical guitar, so every string sits evenly under the pad.
Table of Contents
- What is a capo and which type should you choose?
- How do you clamp a capo step by step?
- How do you check tuning with a capo on?
- How close to the fret should you put the capo?
- Which capo frets are most useful for beginners?
- How do you remove, store and care for a capo?
- What should you do if a capo buzzes or sounds sharp?
- Our view: when to try it yourself and when to ask for help
- Which Kyser partial capos do we stock?
- FAQ
- Sources
What is a capo and which type should you choose?
A capo works as a movable nut. Clamp it across the neck and it shortens the vibrating length of every string, so the open strings sound higher. According to Wikipedia’s guitar entry, a capo at the 2nd fret makes open A shapes sound as B, because each fret raises the pitch by one semitone.
Instructors such as Andy Guitar recommend capos to beginners because they keep the ringing sound of open chords while letting you play in more keys. Think of it as a learning tool, not a shortcut.
Here are the types worth knowing:
- Trigger or spring capo: quick to move with one hand, ideal for switching positions between songs, though the spring tension is fixed.
- Screw or adjustable-tension capo: you set the pressure yourself, which helps if your guitar goes sharp easily, but it is slower to reposition.
- Partial capo: covers only some strings, so the others keep ringing open for drone and alternate-tuning sounds. Our Kyser Capo Partial Acoustic Black, Silver and Gold are all partial capos.
- Curved pad versus flat pad: most steel-string and electric necks are slightly curved, so a curved pad hugs the strings evenly. Classical guitars have a flatter fretboard, so they suit a flat pad. A mismatch is a common cause of buzzing.
If you are still building your starter kit, our guitar accessories guide shows where a capo fits alongside picks, straps and spare strings.
How do you clamp a capo step by step?
Work through these steps in order, and repeat them until the movement feels automatic.
- Pick your fret. Decide which fret the song needs. A song sheet will usually say “capo 2” or similar. If you are choosing a key yourself, a transposition chart such as the one on Geoff Cooper’s Guitar Tips maps the key you want to the fret that lets you use familiar open shapes.
- Open the capo wide. Trigger models open with a squeeze, screw models need the knob loosened. Give yourself room to slide it on without catching a string.
- Hold it parallel to the frets. The pad should run straight across the neck, square to the fret wires. A capo that tilts leaves one side pressing harder than the other.
- Position it just behind the fret wire. Sit the pad on the side of the fret nearer the headstock, a hair’s width from the metal. Never park it on top of the wire.
- Clamp with your fretting hand. Close the capo so the pad meets all six strings at once. For a screw capo, tighten until the strings ring cleanly and stop there.
- Use the “karate chop” with a spring capo. Guitar World describes pressing the strings down with your picking hand while the fretting hand applies the capo. The “isometric karate chop” evens out string tension during clamping, which cuts down on pitch-sharpening.
- Strum each string slowly. Pluck them one by one and listen for buzzing or a thin, dead sound.
- Nudge, then tune. If one string buzzes, shift the capo a tiny fraction closer to the fret, then re-tune.
Pro Tip: Slide the capo on from the side of the neck rather than pressing it down from above. It stops the pad dragging across the strings and knocking them out of tune.
How do you check tuning with a capo on?
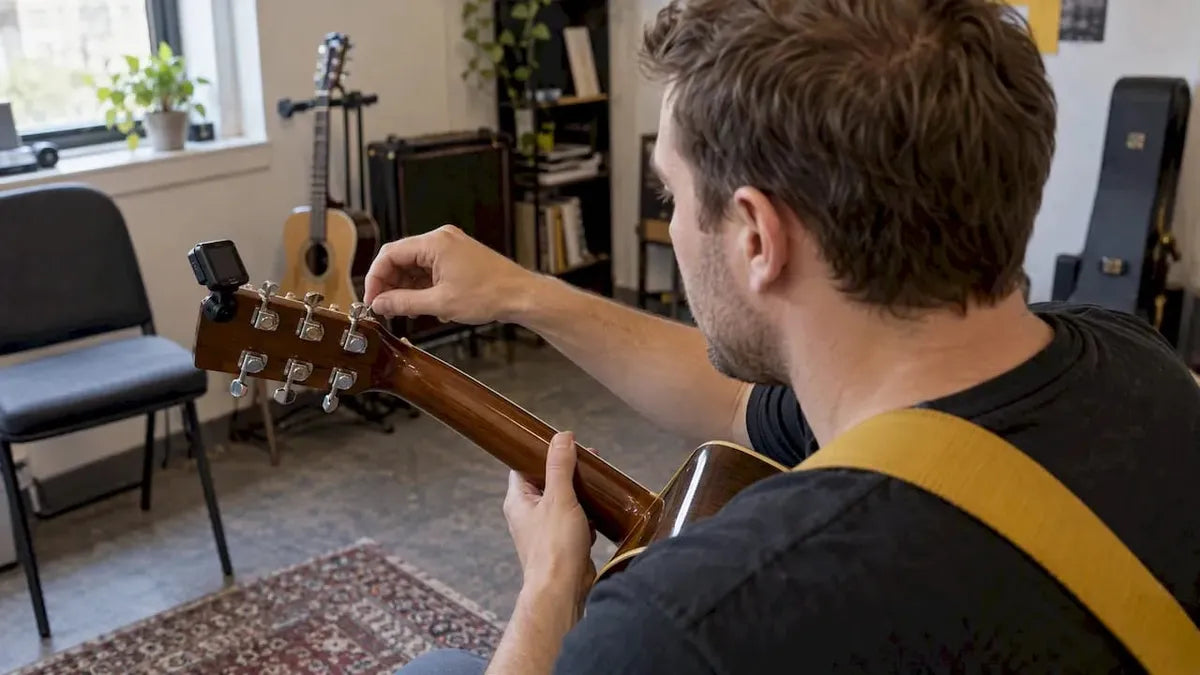
Clamping a capo changes tension on the strings, and that can pull them sharp. Andy Guitar advises checking and adjusting your tuning quickly after you place a capo for exactly this reason. Always tune with the capo in place, not before you fit it, because the pitch you care about is the one you will actually play.
Run through this quick routine each time:
- Pluck each open string with a clamp-on or app chromatic tuner and bring it to pitch.
- Play a chord shape you know well and compare it to a recording or a tuned instrument.
- Fret notes near the capo and make sure they sound true too.
- Strum a full chord again after any adjustment, because moving one string can slightly change the others.
If you need a refresher on tuning itself, our step-by-step guitar tuning guide walks through it for beginners.
Here is what the pitch change looks like in practice:
Each fret you capo raises every open string by one semitone. That means a capo at the 2nd fret lifts the guitar by two semitones, which is why a tuner needle can look fine without the capo and wrong with it.
When something sounds off, diagnose it by pattern. If every string reads sharp, ease the clamp pressure slightly or shift the capo a fraction of a millimetre, then tune again. If only one string is sharp or buzzing, look at pad alignment first, because a crooked pad usually causes that.
How close to the fret should you put the capo?
Small differences in placement make a big difference to sound. These habits keep your notes clean:
- Aim for the smallest practical gap behind the fret wire. The closer the capo sits, the less the string has to stretch down to meet the fret, so you need less pressure and get less buzz.
- Keep it off the fret itself. Sitting directly on the metal wire deadens the note. A tiny gap preserves intonation.
- Match the pad to your guitar. Use a curved pad on a steel-string acoustic or electric, and a flat pad on a nylon-string classical guitar.
- Avoid brute force. Too much squeeze bends strings out of true. If you feel you need to clamp hard to stop a buzz, the capo is probably too far from the fret or the wrong shape for your neck.
- Re-clamp when something is off. If a sharp note persists, open the capo and repeat the karate chop technique from the steps above, then re-check your tuning.
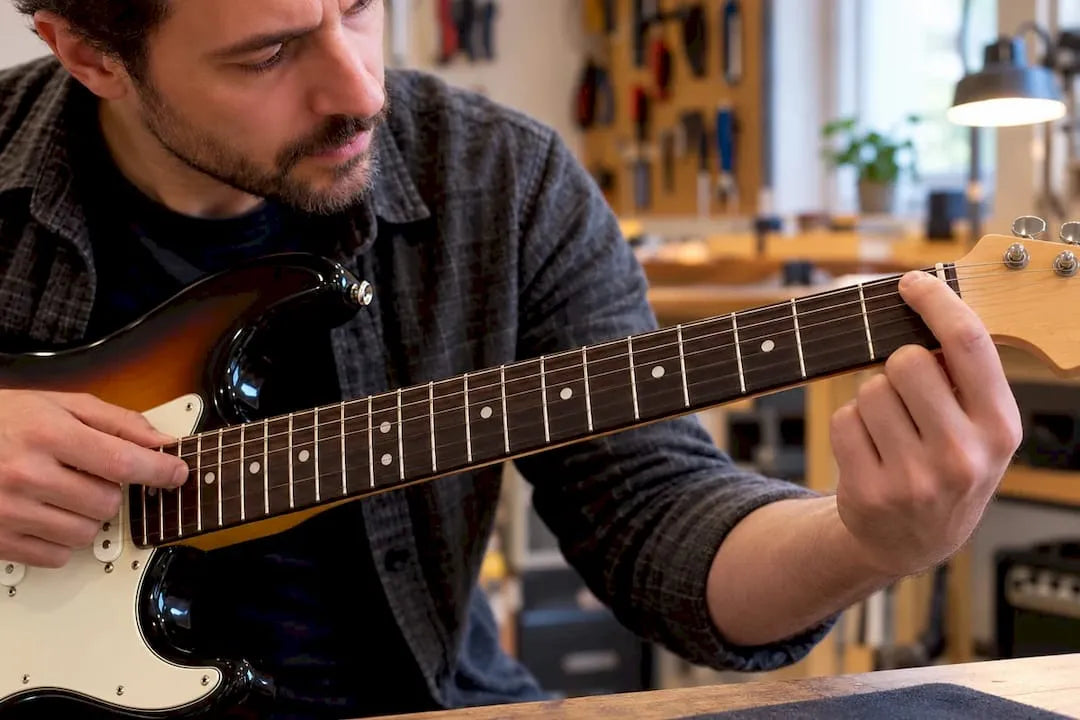
Pro Tip: Mark your favourite fret positions mentally, using the fret markers on the neck, so you can find them quickly without counting by eye.
Which capo frets are most useful for beginners?
Because every fret is one semitone, you can work out the key you are playing in with simple counting. Wikipedia gives the classic example: a capo at the 2nd fret makes open A shapes sound as B. The same idea applies to every shape you know, which is the concept behind the charts on Geoff Cooper’s Guitar Tips.
Here is how the most common positions behave with familiar open shapes:
- Capo 1: raises everything by one semitone, so open C shapes sound as C♯ and open G shapes sound as A♭. Useful for small adjustments to suit a singer.
- Capo 2: the most popular position. Open G shapes sound as A, open C shapes as D, open D shapes as E and open A shapes as B.
- Capo 3: open G shapes sound as B♭ and open C shapes as E♭. It is also the answer if you wonder which chords a 3rd-fret capo gives you: all your usual open chords, sounding three semitones higher.
- Capo 5: open G shapes sound as C, open D shapes as G and open A shapes as D. Handy for bringing a low song into a comfortable range.
A capo raises the key. It never lowers it. If a song feels too low for your voice, add a capo and keep the same chord shapes.
While learning, try capo positions where your open shapes remain comfortable to play. Higher up the neck, the frets sit closer together and open shapes can feel cramped, a point also made in Andy Guitar’s capo lesson.

How do you remove, store and care for a capo?
Take the capo off when you finish playing. Leaving it clamped for long periods can stress the strings and affect the finish over time, as Andy Guitar points out.
A short care checklist keeps the capo working well:
- Release the clamp gently and slide the capo off the neck, rather than yanking it past the strings.
- Wipe the rubber pad now and then with a dry cloth to clear dirt and string residue.
- Store it away from heat, direct sun and damp, ideally clipped to the headstock or kept in your gig bag pocket.
- Replace a capo whose pad has worn flat, cracked or gone sticky, because uneven pressure leads straight to buzzing.
- If capo use keeps highlighting a high action or tuning problems up the neck, the guitar itself may need attention. We offer setup and servicing, so get in touch with us and we can look at the instrument.
What should you do if a capo buzzes or sounds sharp?
Most capo problems have a quick fix:
- Buzzing across several strings: move the capo a fraction closer to the fret wire, or try a different pad shape, curved versus flat, to suit your neck.
- Sharp pitch on all strings: reduce clamp tension a little or reposition the capo, then re-tune with the capo on. Guitar World recommends the karate chop technique if sharpness keeps returning.
- One dead or muted string: check that the pad covers every string evenly and sits parallel to the fretboard. A tilted capo often leaves one edge lifting off a string.
- Rattle near the headstock: make sure the capo body is not touching the strings behind the clamp, and that nothing is loose on the trigger or screw mechanism.
- Buzz that follows you everywhere: try the same fret without the capo. If the buzz is still there, the cause is likely the guitar’s setup, not the capo.
Our view: when to try it yourself and when to ask for help
A capo is an affordable way to change how a guitar sounds, and beginners can learn to place one with practice. The mistake is blaming your technique for problems that come from the instrument. If a capo buzzes everywhere, sounds sharp however lightly you clamp it, or only works near the nut, the neck relief or string height is usually at fault, and no amount of repositioning will cure that.
That is where we can help. We set up instruments and can spot action or neck issues that make capo use awkward. If you have followed the steps above and still struggle, book a setup or come into our shop. Try a trigger capo and a partial capo on your own guitar, because the best one is simply the one that sits flat and feels natural on your neck.
— Music
Which Kyser partial capos do we stock?
A partial capo clamps only some strings and leaves the others ringing open, which opens up drone-style sounds that a standard capo cannot make. We stock Kyser partial capos for acoustic guitar, including the Kyser Capo Partial Acoustic Black, the Silver and the Gold.

Visit our shop in Huntingdon to try them on your own guitar, or order online with expert setup support and free UK delivery on qualifying orders. Browse our guitar accessories and pick the one that suits you.
FAQ
What is the key of the B major chord on the guitar?
B major is the key whose home chord is B major. On guitar you can play it with a barre shape at the 2nd fret, or use an open A shape with a capo at the 2nd fret, because each fret raises the pitch by one semitone, as Wikipedia explains.
What chords can be played with a capo on the 3rd fret?
With a capo on the neck you can play familiar open chord shapes and hear them in a higher key.
What is the best capo position for the key of F major?
A transposition chart such as the one at Geoff Cooper’s Guitar Tips can show which capo position lets you use familiar open shapes while sounding in F major.
Does a capo change the key up or down?
A capo always raises the key. Each fret you move it up shifts the pitch higher by one semitone, so you keep the same chord shapes but hear a higher key. To sound lower, you have to remove the capo or retune the guitar.
Sources
- Guitar - Wikipedia
- Geoff Cooper’s Guitar Tips
- How To Use A ‘Capo’ | Andy Guitar
- How to use a capo on guitar | Guitar World





Share:
How to Put a Capo on a Guitar: 3 Beginner Drills for Clean Changes