

Table of Contents
- Why a Proper Setup Matters
- How to Find the Right Guitar Scale Length
- Adjusting Electric Guitar Action Height
- How to Set Guitar Intonation Correctly
- Best Tools for Guitar Maintenance
- The 5-Step Setup Process
- Troubleshooting Common Setup Issues
- When to Seek a Professional Setup
- Frequently Asked Questions
Last Updated: September 13, 2026
Why a Proper Setup Matters
A well-adjusted instrument removes the main physical barriers between you and your playing. This best electric guitar setup guide from MusicStreet exists because the difference between a guitar that fights you and one that invites you to play usually comes down to a handful of millimetre-level adjustments, not the price tag on the headstock.
Guitar setup is the process of adjusting a guitar's neck relief, action height, intonation, and pickup height so the instrument plays comfortably in tune across the whole fretboard. Most factory instruments ship with a generic setup that suits an average player, not you.
The payoff is immediate. Lower, correctly measured action reduces hand fatigue, accurate intonation keeps chords sounding clean high up the neck, and a properly seated nut stops strings binding during bends. Thomann's guide to guitar setup fundamentals notes that the industry has largely settled on a shared five-step framework for these adjustments, which is the one we follow below.

How to Find the Right Guitar Scale Length
Scale length is the distance from the nut to the bridge saddles, and it shapes both string tension and fret spacing. Fender-style guitars typically measure 648 mm (25.5 inches), Gibson-style instruments sit at 629 mm (24.75 inches), and PRS splits the difference at 635 mm (25 inches). Longer scales feel tighter with more snap; shorter scales feel slinkier and easier to bend.
Why does this matter before you touch a single adjustment? Because scale length determines the string gauge that will feel right and the tension your truss rod has to counteract. A heavy gauge on a short-scale guitar can pull the neck forward, while a light gauge on a long-scale instrument may feel floppy.
If you are unsure which scale suits your hands, play both before buying. Our team at MusicStreet lets customers compare instruments side by side in store, which is far more useful than reading specifications online.
Adjusting Electric Guitar Action Height
Action height is the gap between the top of a fret and the underside of each string, measured at the 12th fret. Most players find a comfortable starting point between 1.5 mm and 2.0 mm on the treble side, with the bass side sitting slightly higher to allow the thicker strings room to vibrate (thomann.de).
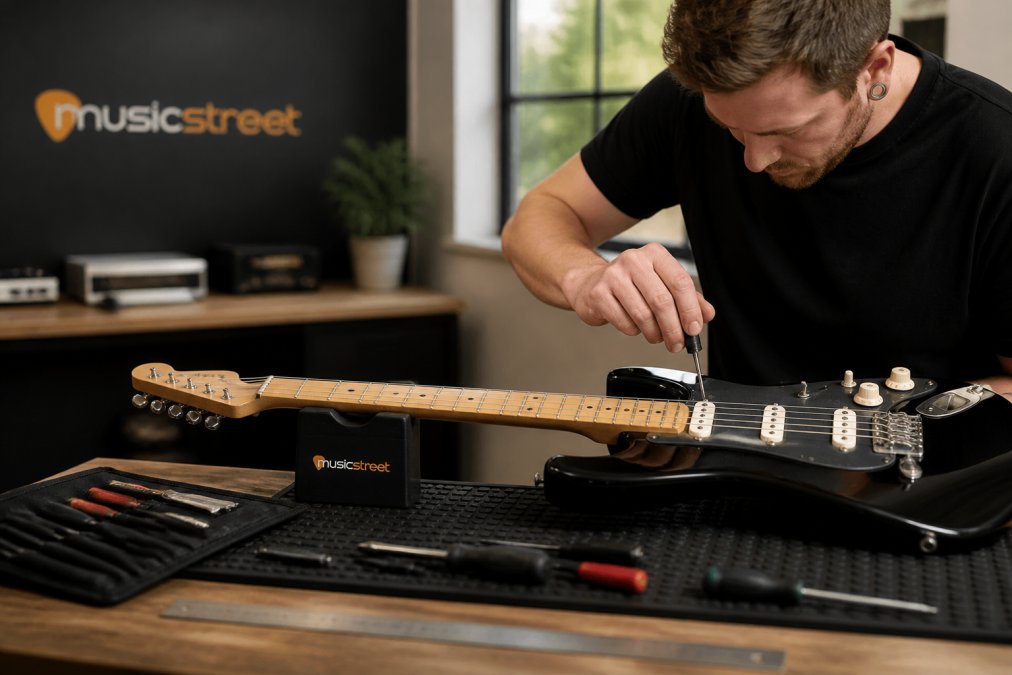
Measure with a steel ruler or action gauge, then adjust the bridge saddles individually. On a Strat-style tremolo, that means turning the small grub screws in each saddle. On a Tune-o-matic bridge, you raise or lower the whole bridge with its thumbwheels.
The common mistake here is chasing action that is too low. Below roughly 1.2 mm, strings start buzzing against frets and notes choke out during bends. Raise the action a quarter turn at a time and retest until the buzz disappears.
How to Set Guitar Intonation Correctly
Setting intonation correctly means matching each string's fretted pitch at the 12th fret to its open pitch, so the guitar plays in tune across the entire neck. If the 12th fret note reads sharp, move the saddle away from the neck; if it reads flat, move it towards the neck.
Use a reliable tuner and check each string individually. Pluck the open string, note the reading, then fret at the 12th fret and compare. Adjust the saddle screw a small amount, retune, and repeat. This is fiddly work, and rushing it produces a guitar that sounds fine in open position but sour in the upper register.
Intonation drifts when you change string gauge, so always set it after fitting new strings and letting them settle. Play Guitar Academy's guide to DIY guitar maintenance points out that more players are handling these adjustments themselves rather than booking instruments in, and intonation is the step where patience pays off most.
Best Tools for Guitar Maintenance
The best tools for guitar maintenance are a set of hex keys, a steel ruler or action gauge, a feeler gauge, a precision screwdriver set, and a clip-on or pedal tuner. You do not need a workshop full of equipment to keep an electric guitar playing well.
Tool |
What It Adjusts |
Typical Use |
|---|---|---|
Hex keys (metric and imperial) |
Truss rod, saddle height |
Neck relief and action |
Steel ruler or action gauge |
String height |
Measuring action at the 12th fret |
Feeler gauge |
Neck relief |
Checking gap at the 8th fret |
Precision screwdrivers |
Intonation screws |
Moving bridge saddles |
Clip-on tuner |
Pitch reference |
Tuning and intonation checks |
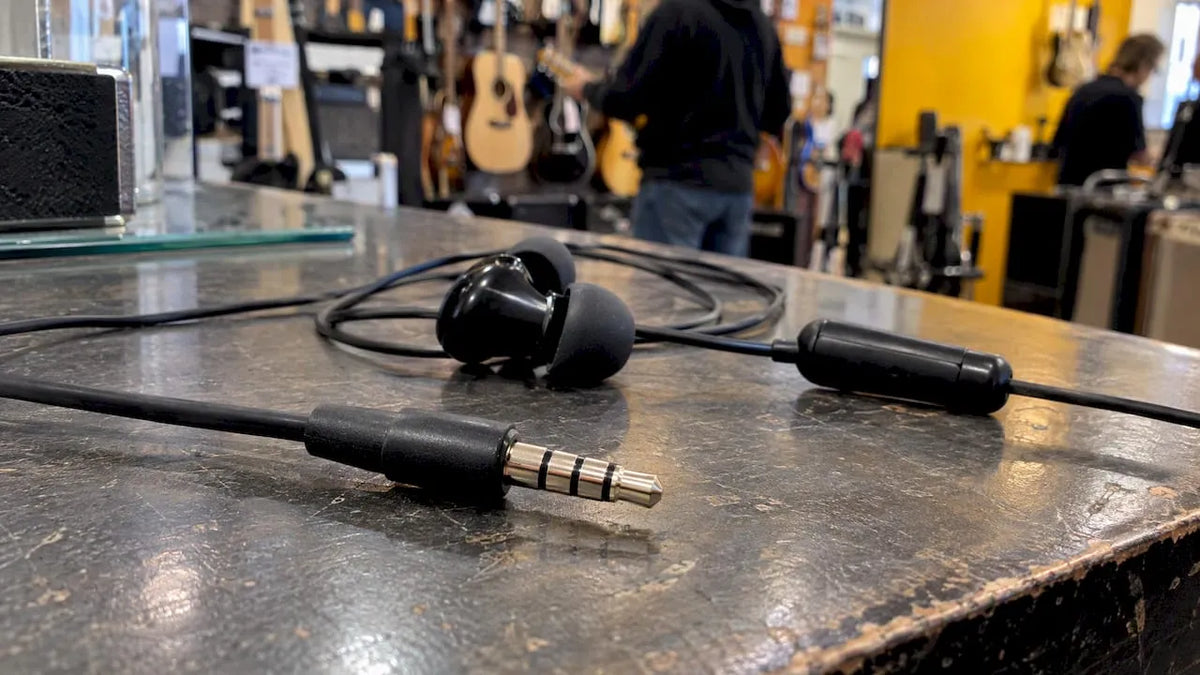
Buy quality hex keys. Cheap ones round off the truss rod nut, and a stripped truss rod is an expensive repair. A portable headphone amp such as the Fender Mustang Micro also helps, letting you hear setup changes clearly without disturbing anyone.
The 5-Step Setup Process
The five-step setup process adjusts neck relief first, then action, then intonation, then pickup height, and finally nut slots. Working in this order matters because each adjustment affects the ones after it.
- Check neck relief. Capo the first fret, fret the last fret, and measure the gap at the 8th fret with a feeler gauge. A typical electric guitar wants around 0.25 mm of relief.
- Set action height. Adjust bridge saddles to your preferred measurement at the 12th fret, bass side slightly higher than treble.
- Set intonation. Compare open and 12th-fret pitches and move saddles until they match.
- Adjust pickup height. Balance output between pickups, starting around 2 mm from the strings on the treble side.
- Check nut slots. Strings should sit snugly without binding. This step usually needs a specialist file.
Expect the whole process to take around 45 to 60 minutes on your first attempt. Retune after every step, because tension changes shift everything else.
Troubleshooting Common Setup Issues
Most setup problems trace back to one of four causes: too little neck relief, action set too low, a binding nut, or worn frets. Diagnosing which one you are dealing with saves you from adjusting the wrong thing.
- Buzzing on open strings only: the nut slots are too low or worn.
- Buzzing across all frets: action is too low or the neck has insufficient relief.
- Buzzing in the middle of the neck: too much relief is causing a hump around the 7th to 9th fret.
- Notes choking out during bends: action or fret height needs attention.
- Guitar will not stay in tune: strings are binding at the nut or the tremolo is not balanced.
If raising the action and adding relief does not cure a buzz, the frets likely need levelling. That is a job for a workshop with the right tools, not a kitchen table.
When to Seek a Professional Setup
A professional setup makes sense when a guitar needs fretwork, nut filing, or electronic repairs, or when you simply want the job done once and done properly. Fret levelling, nut replacement, and truss rod rescue all require specialist tooling and experience.
New guitars benefit from a professional once-over, particularly budget instruments where factory quality control varies. Pre-owned guitars almost always need one, since the previous owner's preferences are baked into the current adjustments.
MusicStreet's in-house repair and setup workshop handles electric, acoustic, and bass instruments, with truss rod adjustment, action calibration, intonation setting, and nut slot filing all carried out by players. Every guitar we sell is checked before it leaves us, and our free delivery applies on orders over £99.
Getting a guitar to play its best is a skill worth learning, but it is not one you have to master alone. MusicStreet is a family-run specialist, established in 2014, offering hand-selected guitars, expert advice for every skill level, and a full in-house setup and repair service. If you would rather have your instrument adjusted by experienced players, or you are ready to find a guitar that arrives playing properly from the first strum, shop our range and let our workshop take care of the rest.
Frequently Asked Questions
What is the correct order for setting up an electric guitar?
Start with neck relief (truss rod), then set action height at the bridge, followed by intonation, and finally pickup height. This order ensures each adjustment builds on the last. However, some luthiers argue the variables are interdependent, so you may need to revisit earlier steps. The key is to make small changes and check your work as you go.
How often should I have my electric guitar professionally set up?
It depends on how much you play and changes in temperature or humidity. Many players get a professional setup once a year, or before important gigs or recordings. If you notice buzzing, tuning instability, or discomfort while playing, it's time for a check-up. Regular maintenance keeps your guitar playing its best.
Can I perform a full guitar setup with basic household tools?
You can do a basic setup with a few tools like hex keys, a screwdriver, and a ruler, but for accurate intonation and action adjustments, you'll need a tuner and feeler gauges. For truss rod adjustments, the correct size hex key is essential. If you're unsure, it's best to consult a professional to avoid damaging your instrument.
How do I adjust the truss rod safely on my electric guitar?
Always make small quarter-turn adjustments, then let the neck settle before checking relief. Turn clockwise to straighten the neck (reduce relief) or anticlockwise to add relief. Never force it. If you meet resistance, stop and seek professional help. Over-tightening can damage the neck.
What are the signs that my electric guitar needs a professional setup?
Fret buzz, notes that sound out of tune higher up the neck, high action that makes playing difficult, or a neck that feels too bowed are common signs. Also, if you've changed string gauge or tuning, a setup is wise. A professional can diagnose and fix issues quickly, ensuring your guitar plays effortlessly.
How does scale length affect my guitar setup and string tension?
Scale length is the distance from the nut to the bridge saddles. A longer scale (like 25.5 inches) means higher string tension, which can affect action and intonation. Shorter scales (like 24.75 inches) have lower tension, making bends easier. When setting up, you'll need to adjust the bridge and truss rod accordingly to compensate.




Share:
How to Inspect a Used Acoustic Guitar: 2026 Guide
Tactile In-Store Shopping vs Premium Trade-In Value