
Every british guitarist knows the excitement of discovering a used instrument with hidden potential, but more than 60 percent of UK players admit to missing key faults during their first inspection. The difference between a worthwhile find and a future headache often comes down to preparation and an eye for detail. With clear expert advice, you can approach each used guitar confidently, spot warning signs early, and make choices that protect both your sound and your budget.
Table of Contents
- Step 1: Prepare Your Testing Environment And Essentials
- Step 2: Inspect Guitar Body, Neck And Hardware For Wear
- Step 3: Check Playability And Neck Alignment
- Step 4: Assess Electronics And Sound Quality
- Step 5: Verify Instrument History And Authenticity
Quick Summary
| Key Point | Explanation |
|---|---|
| 1. Create an optimal testing environment | Use a clean, well-lit workspace with necessary tools to thoroughly examine a used guitar. |
| 2. Conduct detailed physical inspections | Examine body, neck, and hardware for structural integrity and signs of wear or damage. |
| 3. Assess playability and neck alignment | Check neck straightness and action to ensure smooth playability across all frets. |
| 4. Evaluate electronics and sound quality | Test pickups and controls for consistency, clarity, and unwanted noise. |
| 5. Verify authenticity and history | Authenticate by examining serial numbers and gathering documentation for provenance. |
Step 1: Prepare your testing environment and essentials
Getting ready to test a used guitar requires thoughtful preparation to ensure a comprehensive and accurate assessment. You will want to create an environment that allows for meticulous inspection and provides all the necessary tools to evaluate the instrument thoroughly.
Start by setting up a clean, well-lit workspace with plenty of room to manoeuvre. Good lighting and workspace organisation are crucial for detecting subtle imperfections. Gather essential tools before beginning your inspection: a reliable guitar tuner, digital multimeter, capo, soft cleaning cloth, and a notebook for recording observations. Wearing clean gloves will help protect the guitar’s finish and prevent transferring oils or dirt during your examination.
Ensure you have a stable surface like a padded workbench or clean table where the guitar can rest securely without risk of falling. Prepare recording equipment such as a smartphone for capturing audio and video tests, which can help you review details later or consult with expert musicians.
Here is a quick reference for essential guitar testing tools and their uses:
| Tool | Primary Use | Why It Matters |
|---|---|---|
| Digital tuner | Checks tuning accuracy | Ensures precise sound during testing |
| Multimeter | Tests electronic continuity | Detects wiring or pickup faults |
| Capo | Tests playability on different frets | Reveals fretboard or neck issues |
| Soft cleaning cloth | Prevents scratches during handling | Maintains finish quality |
| Smartphone | Records audio and video | Enables playback and expert review |
| Notebook | Documents findings | Ensures no issues are forgotten |
| Gloves | Protects finish from oils and dirt | Keeps the guitar in optimal condition |
Expert Tip: Position a bright lamp or natural light source to illuminate the guitar from multiple angles, revealing potential hidden defects in the finish, neck, and body.
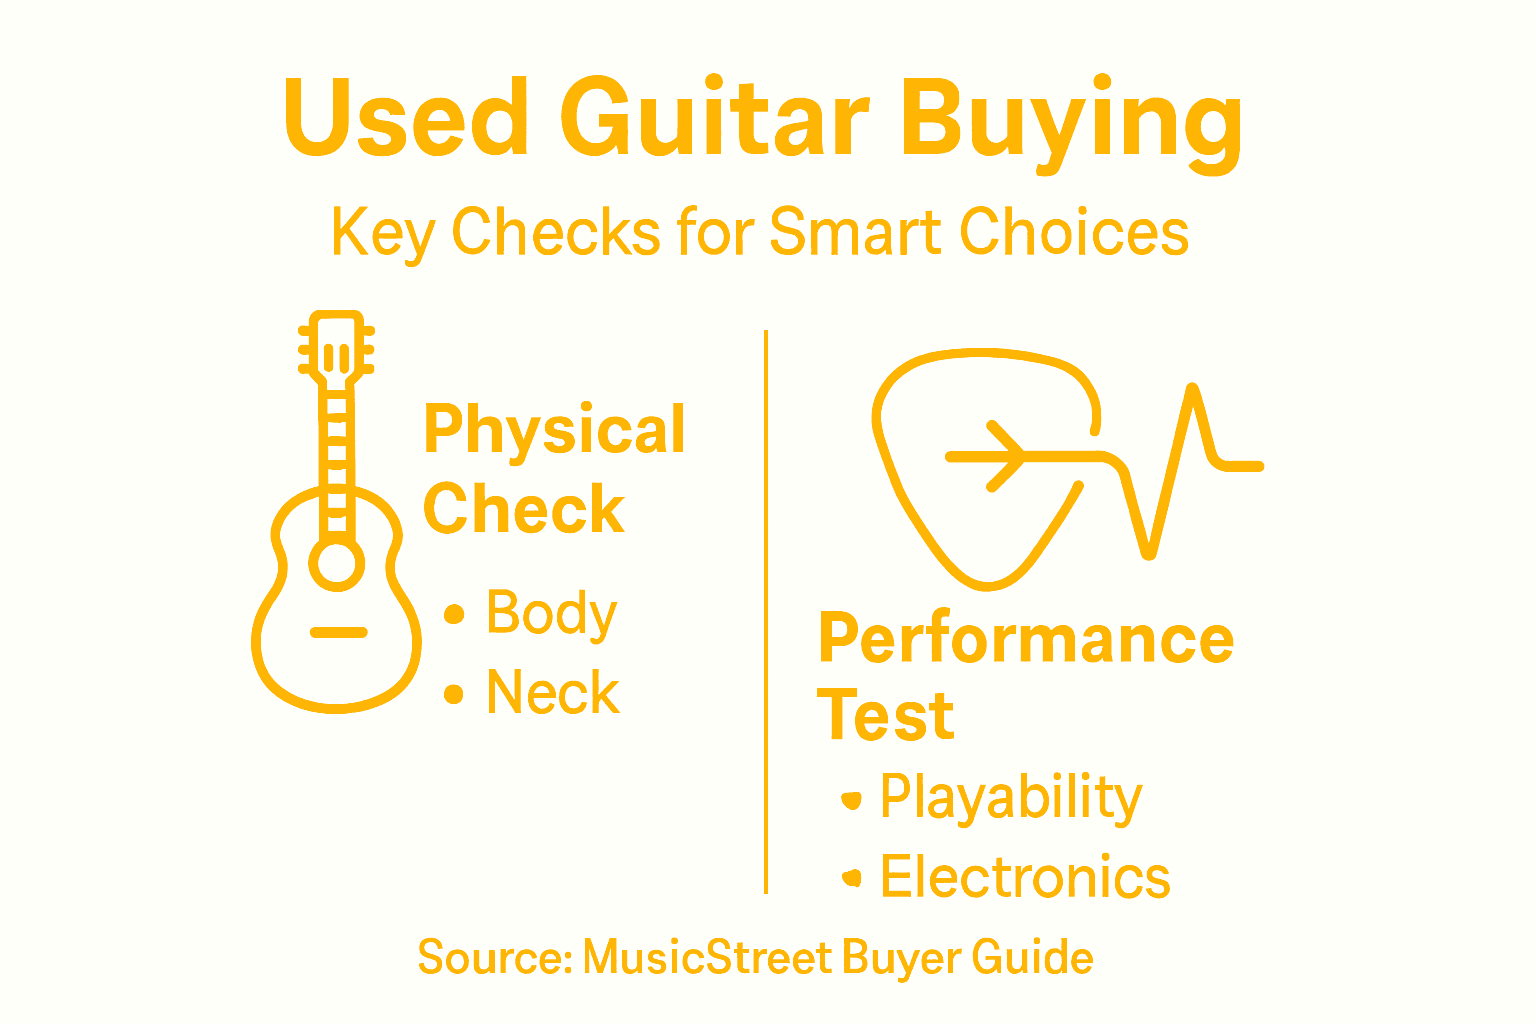
Step 2: Inspect guitar body, neck and hardware for wear
When evaluating a used guitar, a meticulous inspection of its body, neck, and hardware can reveal crucial insights into its overall condition and potential future performance. Your goal is to uncover any structural issues or signs of wear that might compromise the instrument’s sound quality or playability.
Begin by examining the guitar body carefully. Structural integrity inspection should focus on high-stress areas like neck joints, body edges, and surface finish. Look for cracks, chips, or significant dents that could indicate past damage or poor maintenance. Pay special attention to the pickguard checking for lifting or separation from the body surface. Run your fingers gently along the body to feel for any irregularities in the wood or finish that might not be immediately visible.

Next, scrutinise the neck with equal diligence. Checking neck condition involves ensuring it is straight and free from warping or twisting. Examine the fretboard for uneven fret wear, sharp edges, or signs of excessive playing. Inspect the neck joint to confirm it is firmly attached with no visible gaps or movement. Test the hardware meticulously checking tuning machines, bridge components, and strap buttons for tightness, rust, or signs of corrosion that might compromise functionality.
Expert Tip: Use a bright light and hold the guitar at different angles to reveal subtle imperfections that might be invisible under normal lighting conditions.
Step 3: Check playability and neck alignment
Assessing a used guitar’s playability requires a systematic approach that goes beyond visual inspection. You will need to evaluate how the instrument feels and responds when actually played, focusing on neck alignment, string action, and overall comfort.
Start by checking the neck’s straightness and alignment. Guitar setup essentials involve examining how the neck sits relative to the body. Hold the guitar at eye level and sight down the neck from the headstock to identify any twists or warping. A properly aligned neck should have a gentle, consistent curvature without dramatic bends or unusual angles. Press each string at different frets to test for even action and check whether the neck relief allows smooth playability across the entire fretboard.
Next, perform a comprehensive playability test by playing chords and individual notes across all frets. Listen carefully for buzzing sounds that might indicate neck misalignment or uneven fret wear. Pay attention to how comfortable the neck feels in your hand, checking for smooth transitions between positions and assessing whether the guitar’s ergonomics suit your playing style. Test the tuning stability by playing aggressive strums and observing how quickly the guitar goes out of tune, which can indicate potential neck or hardware issues.
Expert Tip: Bring a trusted guitar pick and tune the instrument before your detailed playability assessment to ensure you are testing under optimal conditions.
Step 4: Assess electronics and sound quality
Evaluating a used guitar’s electronic performance and sound quality is crucial to understanding its true value and potential longevity. Your goal is to systematically test the guitar’s electrical components and tonal characteristics to uncover any hidden issues that might affect its performance.
Begin by testing guitar electronics thoroughly. Plug the guitar into a reliable amplifier and methodically check each pickup, switch, and control knob. Listen carefully for any unwanted noise such as static, buzzing, or signal dropouts. Use a multimeter to verify electrical continuity and ensure the pickup resistance falls within expected ranges. Test each pickup position independently, paying attention to the clarity and consistency of the sound produced.
Next, explore the guitar’s tonal versatility by playing through various amp settings and musical styles. Test both clean and distorted tones to evaluate the overall sound quality and identify any potential issues with tone clarity or unwanted interference. Check the guitar’s volume and tone controls to ensure smooth, predictable adjustments. Pay close attention to how the instrument responds to different playing techniques, from gentle fingerpicking to aggressive strumming, to get a comprehensive understanding of its sonic capabilities.
Expert Tip: Bring a high-quality instrument cable and test the guitar in multiple environments to ensure consistent sound performance and eliminate potential interference issues.
Step 5: Verify instrument history and authenticity
Authentication is a critical step in purchasing a used guitar that goes far beyond mere visual inspection. Your goal is to uncover the instrument’s true provenance and ensure you are making a legitimate and worthwhile investment.
Professional authentication techniques involve a detailed forensic approach to verifying an instrument’s origins. Begin by carefully examining the guitar’s serial number and cross referencing it with manufacturer records. Look closely for signs of modifications or non original parts that could impact the instrument’s value and authenticity. Check the neck heel and headstock for original manufacturing stamps and compare the construction techniques and materials against known standards for that specific model and year.
Beyond physical inspection, gather additional documentation to support the guitar’s history. Request original purchase receipts, previous ownership records, or service documentation if available. Pay attention to subtle details such as wood grain patterns, hardware configurations, and unique manufacturing characteristics that can help confirm the instrument’s legitimate origins. Consider consulting specialised guitar authentication experts or forums dedicated to vintage instrument verification if you have any lingering doubts about the guitar’s provenance.
Expert Tip: Take high resolution photographs of key identifying features and serial numbers before finalising your purchase to create a visual record for future reference.
The following table summarises key guitar examination areas and what to focus on for each:
| Area Inspected | Critical Checks | Common Issues Detected |
|---|---|---|
| Body | Cracks, dents, structural integrity | Surface cracks, deep dents |
| Neck | Straightness, attachment, fretboard | Warping, loose joints |
| Hardware | Tuner and bridge condition, corrosion | Rust, loose hardware |
| Electronics | Pickup function, noise, consistency | Buzzing, signal loss |
| Authenticity | Serial number, original parts, docs | Non-original components |
Make Confident Guitar Purchases with MusicStreet
Testing a used guitar thoroughly involves checking every detail from neck alignment to electronics and authenticity. This process can feel overwhelming without expert knowledge or the right tools. Many musicians struggle with evaluating structural integrity, playability, and sound quality before committing to a purchase. At MusicStreet, we understand these challenges and provide a solution that takes the stress out of buying pre-loved guitars.

Explore our expertly inspected collection of electric, acoustic, and bass guitars. Each instrument undergoes professional setup and detailed evaluation to ensure top condition and authentic provenance. Benefit from personalised service, competitive pricing, and free UK delivery on qualifying orders. Visit MusicStreet now to browse featured and latest pre-owned guitars or arrange an in-store tryout to experience premium quality firsthand. Don’t miss your chance to find the perfect guitar with confidence today.
Frequently Asked Questions
What should I prepare before testing a used guitar?
To prepare for testing a used guitar, gather essential tools such as a digital tuner, multimeter, capo, and soft cleaning cloth. Set up a clean, well-lit workspace to ensure you can thoroughly inspect the instrument’s body, neck, and hardware.
How do I inspect the guitar body for damage?
Examine the guitar body for cracks, chips, and dents, especially in high-stress areas like neck joints and body edges. Run your fingers along the surface to feel for any irregularities and ensure the finish is intact, noting any imperfections.
What steps should I follow to check the guitar’s playability?
To check playability, inspect the neck’s straightness and play chords across all frets. Listen for any buzzing sounds and assess the comfort of the neck in your hand, ensuring smooth transitions between positions and adequate action.
How can I assess the electronics and sound quality?
Plug the guitar into an amplifier and test each pickup and control knob for clarity and consistency in sound. Listen for any unwanted noise like static or buzzing, and check the guitar’s tonal response across various styles to evaluate its overall sound quality.
Why is verifying instrument history important?
Verifying the instrument’s history is crucial for ensuring its authenticity and value. Check the serial number, ask for documentation like original receipts, and inspect for non-original components to confirm you are making a legitimate investment.
What common issues should I look for in the guitar hardware?
Inspect the hardware for signs of rust, looseness, or corrosion, especially in tuning machines and bridge components. Tighten any loose parts and replace corroded hardware promptly to maintain optimal functionality.
Recommended
- Step-by-Step Guide to Guitar Investment for Musicians | MusicStreet
- How to Buy Used Guitars: A Complete Guide for Musicians | MusicStreet
- 7 Risk-Minimizing Rules When Buying Used Guitars Online | MusicStreet
- Second Hand vs New Guitars: Everything You Need to Know | MusicStreet
- Step-by-Step Guide to Buying Greene & Greene Inspired Furniture -


Share:
How to Buy High End Guitar for Advanced UK Players
Solid Body Guitars: Essential Facts for Beginners