

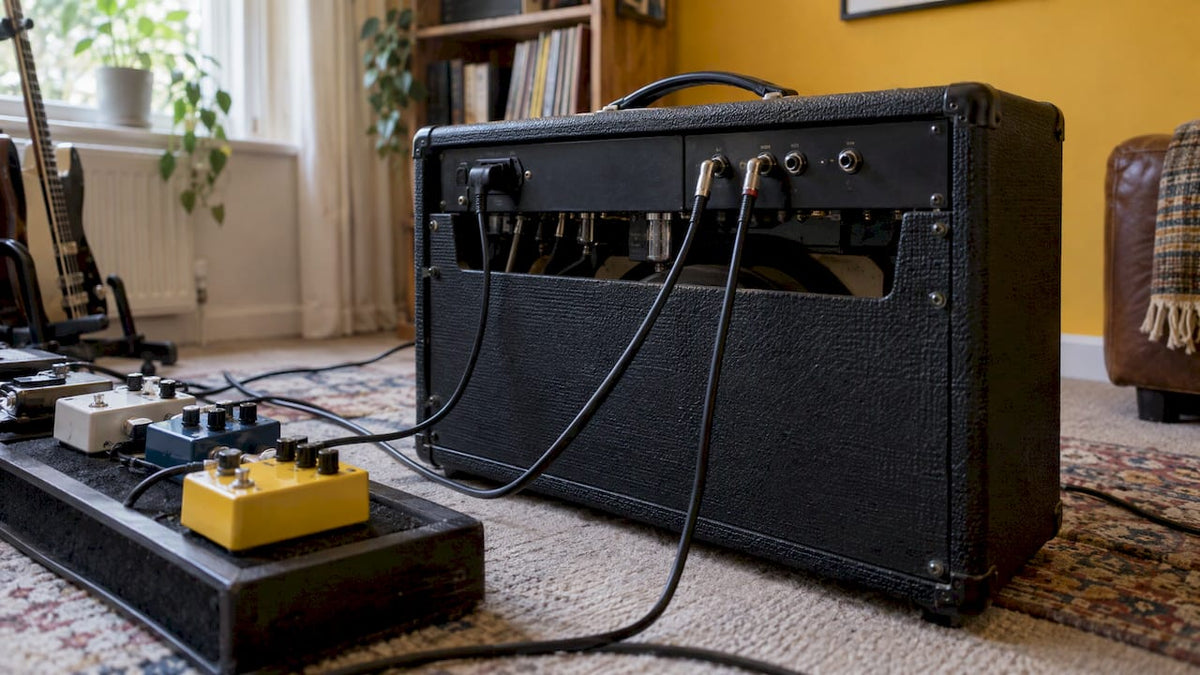
Put your time-based and modulation effects in the loop: delay, reverb, chorus, flanger, tremolo and usually phaser. Keep your gain and dynamics pedals in front of the amp: tuner, wah, compressor, fuzz, overdrive, distortion and boost. The loop sits after the amp’s preamp, so the amp’s own gain is already in place before the repeats and ambience arrive. That is why a delay in the loop stays clear instead of turning to mush. The rest of this guide covers the reasoning, the grey areas, the wiring and the problems that catch people out.
Table of Contents
- What an effects loop actually is
- Effects that belong in the loop
- Effects that belong in front of the amp
- The grey area: modulation, and the clean-amp case
- Series or parallel loop: which effects suit which
- How to connect effects to Send and Return
- Why the loop sometimes sounds wrong
- A worked example: a crunch amp with delay and reverb
- Our view: the loop rewards good gear and a good setup
- Get your amp, pedals and setup sorted
- FAQ
- Sources
What an effects loop actually is
An effects loop is a pair of sockets on the back of many amps, labelled Send and Return. Premier Guitar describes the loop as sitting between a typical amplifier’s preamp and power-amp stages. The preamp shapes your tone and supplies the amp’s gain. The power amp makes that signal loud enough to drive the speaker.
When you plug a pedal into the front of the amp, it hears your guitar first and the amp’s gain stage hears the pedal’s output. When you use the loop, the signal leaves the amp after the preamp, travels through your effects, and returns to the amp just before the power stage. Anything in the loop therefore processes your tone after the amp has already coloured and distorted it.
That single difference explains almost every rule in this article.
Effects that belong in the loop
The usual loop residents are delay and reverb, with chorus, flanger, tremolo and other modulation effects also common. Strymon’s guide to signal chains explains the logic: amp-generated gain happens before the repeats, ambience or modulation, so those effects stay clearer and less muddy. Blackstar makes the same point about delay specifically: delay in the loop gives sharper, more pristine repeats, whereas delay in front of a driven amp gives less pristine, more distorted repeats.
Think of it this way. Put a delay before an overdriven preamp and every repeat gets pushed through the distortion again, so the echoes grow fuzzy and compressed. Put the same delay in the loop and the distorted note is copied cleanly, repeat after repeat.
Here is how the common effects sort out:
| Effect | Usual position | Why |
|---|---|---|
| Delay / echo | Loop | Repeats stay clean after the amp’s gain |
| Reverb | Loop | Ambience is added to the finished amp tone |
| Chorus | Loop or front (taste) | Clean and glassy in the loop, dirtier in front |
| Flanger | Loop | Sweep stays smooth on top of the distortion |
| Tremolo | Loop (often) | Volume pulse applies evenly to the whole tone |
| Phaser | Loop (often) | Sweeps stay clear rather than getting squashed |
| Overdrive, distortion, fuzz | Front | Built to push the preamp |
| Wah | Front | Designed for a raw guitar signal |
| Compressor | Front | Evens out the guitar before the amp |
| Booster | Front | Drives the preamp harder |
| Tuner | Front | Reads the guitar signal directly |
If you want a closer look at individual effects, our guides to what a flanger does and what an echo is cover how each one behaves.
Effects that belong in front of the amp
Gain-based and dynamics pedals are designed to work with a raw guitar signal and to push the preamp into its sweet spot. Quilter Labs’ support team says that effects such as overdrive or compression should always be placed before the amp’s input, while reverb, chorus and delay work best after gain. They add that if you run your amp clean, those time-based effects will work in front of the amp as well.
There is a second reason to leave drive pedals out of the loop. Blackstar notes that boosts and drive effects are generally avoided in the loop because they can overload the power-amp section. A fuzz pedal there is not just wasted: it can hit the power stage with far more level than it was meant to handle.
Premier Guitar adds a practical point: pedals designed for the guitar input are generally better run in front, partly because extra cable length can add tone loss or noise.
So a sensible split looks like this:
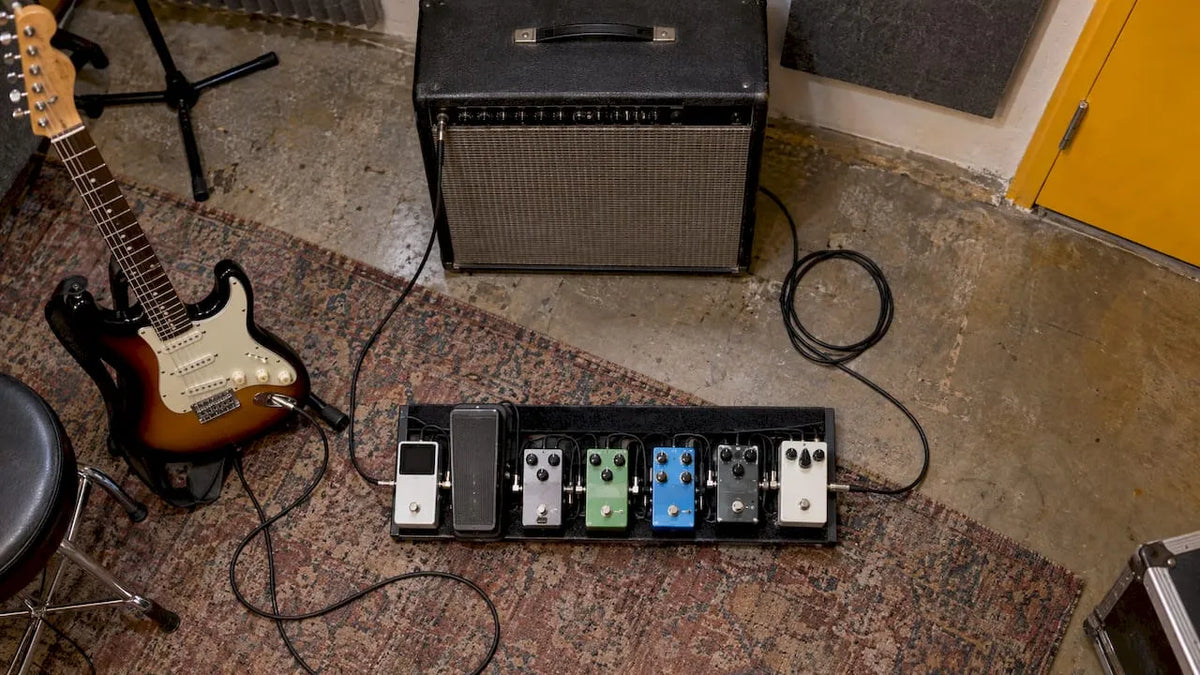
- Front of the amp: tuner, wah, compressor, fuzz, overdrive, distortion, boost.
- In the loop: delay, reverb, chorus, flanger, tremolo, phaser.
If you want to see how a full pedalboard is laid out around that split, our five-stage pedal chain guide shows how to keep delays clear.
The grey area: modulation, and the clean-amp case
Some effects have no single right answer, and that is where your ears should decide.
Chorus is the classic example. BluGuitar explains that it is a matter of taste: in front of the preamp it sounds dirtier the more overdrive you use, while in the loop it gives the typically 80s sound, clean and shimmering. Both are valid. A chorus in front of a crunchy amp can sound thick and slightly grainy, which suits some rock and indie tones. A loop chorus is the polished, wide sound you may know from the 1980s.
Roland’s UK guidance for its Katana amp takes the same view: as a general rule, wahs, compressors, overdrives, distortions and boosters go in front, reverb goes after the preamp, and mod and delay effects can go in either place depending on the sound you want.
If your amp is set clean and you get your drive from pedals, the picture changes. With no amp gain to protect your delay from, the front of the amp works perfectly well. The loop earns its place most clearly when the amp itself supplies the crunch or lead tone.
A quick way to decide: play the same riff with the pedal in each position and keep the one that sounds the way you hear it in your head.
Series or parallel loop: which effects suit which
Not all loops behave the same. Quilter Labs explains the two types in its article on the parallel loop, and its table shows which effects suit each.
In a series loop, your entire signal passes through the effects. There is no dry signal blended in alongside. Quilter’s table puts wah, compressor, booster, overdrive, distortion, EQ, noise gate and volume in a series loop. That makes a series loop the more forgiving place for most pedals: you set the effect level on the pedal itself.
In a parallel loop, the signal is split. Part goes through your effects and part stays dry, and a mix control on the amp blends them. Quilter’s table places EQ, volume, booster, phaser or flanger, pitch shift, chorus, noise gate, delay or echo and reverb there.

The key setting for a parallel loop is the pedal’s own mix. Strymon recommends setting the effect’s mix to 100% in a parallel loop, so the return supplies the wet signal while the amp supplies the dry. Strymon also advises caution with a Kill Dry setting, and does not recommend it when more than one pedal is in that loop.
If you do not know which kind you have, the amp’s manual will say. Many amps with a single effects-loop level or mix knob have a parallel loop.
How to connect effects to Send and Return
The wiring is simple, and it is the same logic whichever pedal you use.
- Switch everything off before plugging or unplugging anything.
- Run a cable from the amp’s Send to the input of your first pedal (or your effects unit).
- Chain your pedals with short patch cables in the order you want: for example delay first, then reverb.
- Run a cable from the last pedal’s output to the amp’s Return.
- Plug your guitar into the amp input as normal, and any front-of-amp pedals between the guitar and that input.
Blackstar’s quickstart guide for the HT-5RH MkIII says to connect Send to the input of the device and the output of the device to Return, with a choice between a professional-level setting (+4dBV) and a guitar-level setting (-10dBV) for effects pedals.
That last point matters. A few cables and one switch separate a great loop sound from a noisy, quiet or harsh one.
Set the loop level to match your gear
Root Two Amplification, a UK amp builder, explains that Send and Return sockets usually cater for guitar level (-20dBV or -10dBV) for stomp boxes, up to line level (0dBV or +4dBu) for studio-grade rack effects and some power amps. Stomp boxes want the lower, guitar-level setting. Rack units and many multi-effects processors are built for line level.
BluGuitar’s AMP1 includes a loop level switch that changes sensitivity between -10dB and +4dB. It stops pedals designed for use in front of the amp from muddying because they cannot cope with the loop’s input level. If your amp has a switch like this, set it to match your gear before you start adjusting tone.
Why the loop sometimes sounds wrong
Most loop problems come down to level, mix settings or cable length.
The effect sounds harsh or muddy. Premier Guitar warns that a preamp can send a signal too strong for some effects, requiring input-level reduction. Turn the send level down, or use the guitar-level setting if your amp has one. Do not reduce it too far: Premier Guitar says that if you do, the power stage may no longer react properly.
The sound gets thin, swirly or like a stuck flanger. In a parallel loop, an effect that digitises the dry signal delays it slightly. Quilter Labs explains that adding that delayed dry signal to the amp’s own dry signal creates a comb filter that sounds like a stuck flanger. The fix is to set the pedal to 100% wet, or Kill Dry where it is offered.
The pedal works in front but not in the loop. Quilter notes that loop levels vary between amps, so they cannot guarantee any pedal works in every effects loop. Generally, if similar 9V-powered pedals work in your loop, theirs will too. For instrument-level effects that struggle, they suggest a line level shifter such as the Ebtech LLS2 or a similar level-matching device.
There is extra hiss. Check cable length first. Every extra metre of cable adds a chance of noise. Keep patch cables short, and make sure power supplies are clean. Our guide to daisy chaining pedals safely and quietly explains how to avoid the common power-related hum.
A worked example: a crunch amp with delay and reverb
Say you play a valve combo with a crunchy rhythm channel and you own a tuner, an overdrive, a delay and a reverb.
- Guitar into tuner, then overdrive, then the amp input. These all want the raw guitar signal.
- From the amp’s Send, a short cable into the delay, then the reverb.
- From the reverb’s output into the amp’s Return.
Now your overdrive pushes the preamp as before, the amp’s crunch is set, and the delay copies that crunchy note cleanly. The reverb then adds space to the finished sound. If your amp has a parallel loop, set both pedals to 100% wet and use the amp’s loop mix to blend.
If you later decide you want a looper too, place it after the time-based effects or in front of the amp depending on whether you want to record the amp’s sound or the raw guitar. Test both: the difference is easy to hear.
Our view: the loop rewards good gear and a good setup
We spend a lot of time at the bench and in the shop with players who say their delay sounds muddy or their reverb sounds thin, and the cause is rarely the pedal itself. It is usually where the effect sits and how the levels are matched.
Our advice is to treat the loop as part of the amp’s design, not an afterthought. Start with drive and dynamics in front, time-based effects in the loop, and then move one pedal at a time until it sounds right to you. A properly set-up instrument and a well-chosen amp make this far easier, because noise, buzz and loose jacks all show up more clearly once effects are added.
That is why we inspect and set up every instrument before it leaves us, and why we are happy to talk through your pedal order with you in the shop in Huntingdon. You can try an amp and pedals together before you decide.
Music
Get your amp, pedals and setup sorted
If you are choosing a new amp, look for one with an effects loop and read the manual for the loop type and level options. Our range of guitar amps and combos covers new and pre-owned models, and you can try them in store in Huntingdon.

For the pedals themselves, browse our effects range, and for the cables, straps and power supplies that tie a rig together, our accessories collection has what you need. If your guitar buzzes or crackles once effects are connected, our setup, servicing and repair service can put it right. We also offer free UK delivery on orders above a minimum amount, and insurance-backed warranties.
FAQ
Can I put a distortion pedal in the effects loop?
It is generally better in front of the amp. Distortion and drive pedals are designed to push the preamp, and in the loop they can overload the power-amp section. Keep them between the guitar and the amp input, and use the loop for delay, reverb and modulation.
Should reverb go in the loop or in front of the amp?
In the loop for most players, particularly if your amp supplies the gain. The reverb is then added to the finished amp tone and stays clear. If you run your amp clean, in front of the amp works fine too.
Does it matter which order I put effects in the loop?
Yes. A common order is modulation first, then delay, then reverb, so that repeats are modulated and the reverb sits over everything. Moving one pedal at a time and listening is the quickest way to find the order you like.
What is the difference between -10dBV and +4dBV on an effects loop?
They are two signal levels. -10dBV suits guitar pedals, while +4dBV is a professional line level used by rack effects and some studio gear. Match the setting to your gear, and if your amp has no switch, a level-matching device can help.
Do I need an effects loop at all?
Not to play, but it helps when your amp supplies the distortion and you want clean delay and reverb. If you get your drive from pedals and keep the amp clean, you can run everything in front of the amp.
Sources
- Effects Loops, Premier Guitar
- Setting Up Your Effect Signal Chain, Strymon
- FX Loop vs. Pedals in Front of Your Amp, Blackstar
- Should I place pedals before the amp’s input or in the effects loop, Quilter Labs
- The Perilous Parallel Loop, Quilter Labs
- Pre or post FX, BluGuitar
- Exploring the Hidden Powers of the Katana, Roland UK
- HT-5RH MkIII Quickstart Guide, Blackstar
- Guitar Amplifiers: Treat them right, Root Two Amplification



Share:
Pedal Signal Chain: The Order That Works and Why