

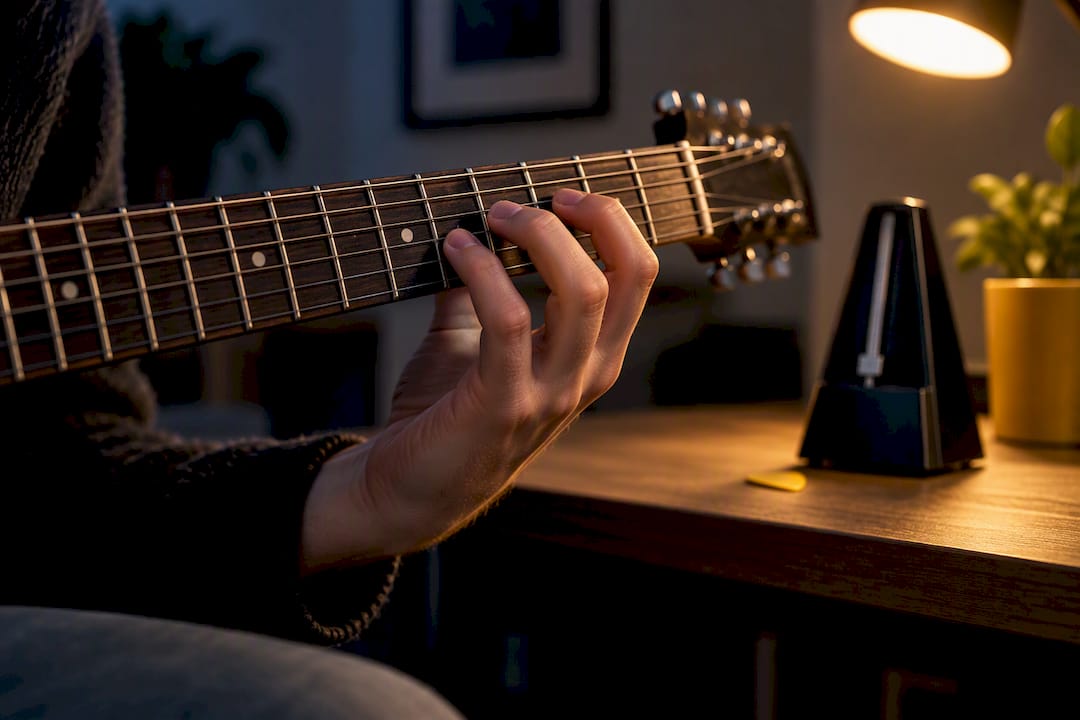
Guitar tab is a six-line shorthand that tells you which string to play and which fret to press, and you read it left to right just like a sentence. The six lines represent your six strings, the numbers on them represent frets, and a “0” means you play that string open. Start by finding a simple tab, play the numbers in order, and you’re already reading it. If you get stuck, seek guidance from experienced players or instructional resources to find beginner-friendly materials and properly set-up instruments.
Table of Contents
- What guitar tablature is and how it maps to your guitar
- Frets, numbers and playing notes together
- Common tab symbols and playing techniques
- Timing and rhythm in tab: what it shows and what it leaves out
- Tuning, capo notes and what to assume when they’re missing
- Common beginner mistakes and how to fix them fast
- Decoding a short riff: a practical walkthrough
- Why tab is widely recommended as a starting point for beginners
- MusicStreet products that make learning tab easier
- Sources
- FAQ
What guitar tablature is and how it maps to your guitar
Tablature, or tab, is a visual map of your guitar’s fretboard rather than a system of musical pitch and rhythm like standard notation. Each of the six horizontal lines stands for one string, and once you know which line is which, everything else follows from that.
Here’s where the confusion usually starts. The top line of a tab represents the high E string, the thinnest string, closest to the floor when you’re holding the guitar in playing position. The bottom line is the low E, the thickest string, nearest your head. This trips up a lot of new players because it feels backwards: you’d expect the “top” of a tab to match the “top” of the guitar as you look down at it, but tab is written from the player’s perspective looking at the strings, not from a bird’s eye view. The London College of Music’s grade one rock guitar handbook sets out this six-line structure clearly, with the top line as high E and fret numbers placed directly on the string they belong to.
Once the orientation clicks, reading a note is simple:
- A “0” on any line means play that string open, with no fret pressed.
- A number like “3” on the second line from the top means press the third fret on the B string.
- Numbers appearing one after another, left to right, are played in that order, one note at a time.
Try it on a real guitar: find the low E string, the fattest one, and locate the third fret. That’s the note you’d see written as a “3” on the bottom line of a tab. Do the same on the high E string and you’ll already have covered the two most common starting points beginners meet in their first tab sheets.
Frets, numbers and playing notes together

Every number in tab is a fret, and the string it sits on tells you which string to press it on. Zero always means open, one means the first fret, two the second, and so on up the neck. The same pitch often exists in more than one place on the guitar, so don’t be surprised if a tab asks for a note on the third fret of one string when you could technically play the identical pitch elsewhere. Tab writers usually choose the fingering that keeps your hand in a sensible position for the rest of the passage.
The real skill beginners need to pick up early is telling single notes from chords. When numbers appear side by side, left to right, you play them one after another as separate notes, a melody line. When numbers are stacked vertically, directly above or below each other across different strings, you play them all at the same time, a chord or a partial chord.
- Numbers written in a row, spaced apart, mean one note follows another.
- Numbers stacked in a vertical column mean strum or pluck those strings together.
- A gap or line break usually signals a new bar or phrase, giving you a natural pause to reset your hand.
A short example makes this concrete. Picture three columns: the first has a “0” on the low E line alone, the second has “2” on the A string and “2” on the D string stacked together, and the third has a single “3” on the G string. You’d play the open low E, then strum the A and D strings together at the second fret, then move to a single note on the G string’s third fret. Fingering-wise, that stacked pair is a good candidate for your first and second fingers, leaving your third and fourth free for whatever comes next in the phrase.
Common tab symbols and playing techniques
Plain numbers only get you so far. The moment a song calls for a hammer-on, a slide or a bend, tab needs extra symbols to show what your fretting hand should actually do, not just where it should land. According to the tab notation guide at Hakwright, these symbols are broadly standard across most tab sites, though not universally so.
- h means hammer-on: pick the first note, then bring a finger down sharply on a higher fret without picking again.
- p means pull-off: the reverse, you pluck a fretted note then release a finger to sound a lower note or open string.
- / or ** means slide: move your finger smoothly from one fret to another while keeping pressure on the string.
- b means bend: push or pull the string sideways to raise the pitch without moving position.
- r means release: let a bent string return to its normal pitch, often paired with a b.
- ~ or v means vibrato: a small, rapid wobble in pitch, usually held on a sustained note.
- x means a muted or dead-note strike, giving a percussive click rather than a clear pitch.
- t means tap: strike the string directly with a fretting finger instead of picking it.
Bend notation can look confusing at first because it often combines a fret number with a target. A figure written as 7b9 means fret the seventh fret, then bend the string until it sounds like the ninth fret’s pitch, without ever pressing that fret. This shorthand appears across most tab guides and is worth memorising early, since bends turn up constantly in rock and blues playing.
A note on symbol variation: authors don’t always agree on notation, and the Hakwright tab FAQ points out that conventions vary between transcribers, particularly for less common techniques like harmonics or tapping sequences. Some writers use “()” around a number to mark a natural or artificial harmonic; others spell it out in words in a legend at the top of the file. When a tab includes a legend or key, always check it before assuming a symbol means what it usually means elsewhere.
Symbol conventions are widely reused but not standardised, according to the Hakwright guide to tab notation, which recommends checking for a legend whenever a tab uses anything beyond the basic h, p, /, b and ~ marks.
If you ever hit a symbol that isn’t in the list above and the tab has no explanatory key, your best move is to listen to a recording of the song and work out by ear what the written shape is trying to represent. Tab is a practical tool built by guitarists for guitarists, not a regulated system, so treat unfamiliar marks as a prompt to listen rather than to guess.
Timing and rhythm in tab: what it shows and what it leaves out
Tab is excellent at telling you where to put your fingers and largely silent on how long to hold each note. This is the single biggest limitation beginners run into, and it catches almost everyone out at some point.
Basic tab, the kind you’ll see on most fan-transcribed sheets, shows pitch and technique but usually skips explicit rhythmic values like crotchets or quavers. The grade six rock guitar handbook from the London College of Music notes that players typically need to rely on the recording itself, or on spacing within the tab, to work out exact timing. Wider gaps between numbers often hint at longer notes or rests, while tightly packed numbers suggest a quick run, but this is a rough guide rather than a precise rule.
Some tab formats go further and encode rhythm directly. According to rhythm documentation from Goldsmiths’ tab code resources, certain systems attach single-letter rhythm signs above the tab line, with letters mapped to note values such as crotchets or quavers, and dots used to extend a note’s length the way they do in standard notation. Other transcriptions place a full line of standard notation directly above the tab, giving you rhythm and pitch information side by side. When you find a tab like this, use it: it removes most of the guesswork.
Until you find that kind of tab, lean on these habits:
- Play along with the original recording on your first few attempts, matching your fingers to what you hear.
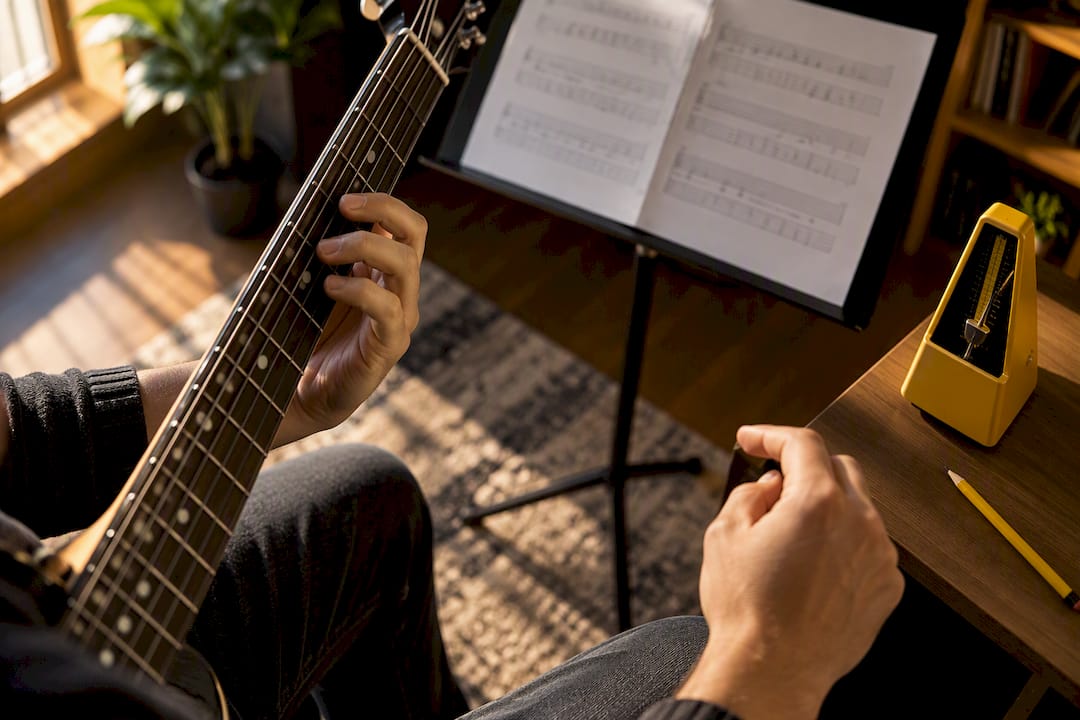
- Use a metronome to lock in a steady pulse before adding any of the trickier techniques.
- Slow the track down with a free tool like Audacity or a slow-down app, and loop short two- or four-bar sections until they feel automatic.
Pro Tip: Loop a single bar at half speed for five minutes before trying it at full tempo; your hands learn the shape faster than your ear learns the rhythm, so let the slow repetition catch up.
Tuning, capo notes and what to assume when they’re missing
Most tabs tell you the tuning and capo position you need before a single number appears, usually as a short line at the top of the page. If a tab says “Standard tuning, no capo,” you’re set. If it says something like “Capo 2nd fret” or “Drop D,” that instruction changes every fret number that follows, so it’s worth reading before you play a note.
According to the Hakwright guide to reading tab, when a tab gives no tuning information at all, the safe assumption is standard tuning (E, A, D, G, B, E from low to high), though you should still check the sound against a recording if one is available. Guessing wrong here is one of the most common reasons a tab “sounds off” even when every number has been played correctly.
Beginners will run into a handful of alternate tunings early on:
- Drop D lowers only the low E string down a whole step to D, common in rock riffs that need extra low-end weight.
- Open G retunes several strings to form a G chord when strummed open, popular in slide and blues playing.
- Capo instructions shift every fretted note up the neck by the number of frets stated, without changing what you play relative to the capo.
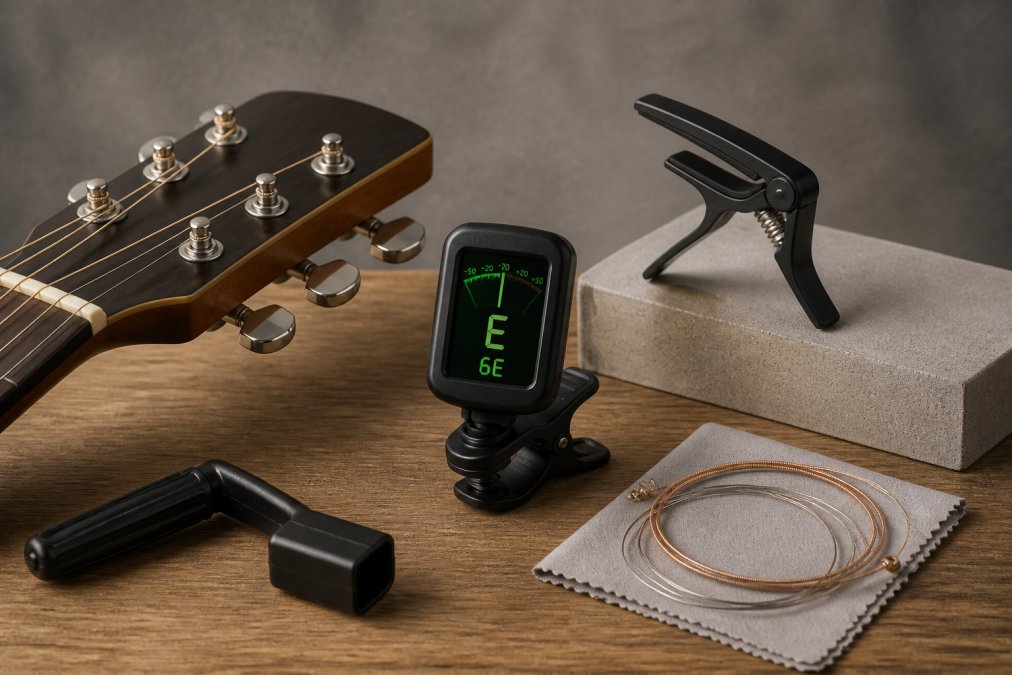
A quick routine before starting any new tab: tune to standard first, check the tab header for a capo or alternate tuning note, retune or place the capo as instructed, then strum an open chord and confirm by ear that it matches what you expect to hear.
Common beginner mistakes and how to fix them fast
Most reading errors fall into a small handful of repeat offenders, and each one has a quick, specific fix.
- Reading the lines upside down. If your chords sound wrong, check you’ve matched the top line to the high E string and not the low E. Play an open low E and confirm it’s the bottom line of the tab, not the top.
- Ignoring rhythm entirely. Clap or count the rhythm of a phrase before you touch the guitar, using the recording as your reference, then apply that rhythm to the notes once it’s in your head.
- Guessing at fingering. Write your own finger numbers lightly above the tab the first time through a new passage, so you’re not re-deciding fingering every time you replay it.
- Rushing techniques like bends and slides. Slow the passage right down with a metronome until the hammer-on or slide sounds clean, then increase speed in small steps rather than jumping straight to full tempo.
A simple daily routine keeps this improving without eating your whole evening. Spend two minutes tuning up and warming your fingers, five minutes on a new short passage played hands separately, five minutes bringing both hands together at a slow, steady tempo, and a final few minutes replaying yesterday’s passage from memory to check it’s sticking.
Pro Tip: Keep a small notebook or phone note of which tabs you’ve decoded each week; seeing the list grow is a better motivator than any app streak.
Decoding a short riff: a practical walkthrough
A short worked example pulls everything above into one place. Picture a simple four-bar riff: bar one opens with a single “0” on the low E string, bar two adds a hammer-on written as “2h3” on the A string, bar three stacks a “2” on the D string with a “2” on the G string to form a small chord, and bar four closes with a slide written as “5/7” on the low E string.
Working through it string by string: bar one is an open low E, no fretting hand needed. Bar two asks you to fret the second fret of the A string, pick it, then hammer your finger down onto the third fret without picking again, a classic hammer-on. Bar three is a two-note chord shape, both second fret, played together, a good spot for your first and second fingers side by side. Bar four is a slide on the low E string from the fifth fret up to the seventh, keeping pressure on the string the whole way.
To learn a passage like this without frustration:
- Play it at a slow, steady tempo first, focusing purely on accuracy over speed.
- Practise the fretting-hand shapes alone, without picking, until the movements feel natural.
- Bring both hands together at the same slow tempo before adding any speed at all.
- Only once it’s clean should you layer in dynamics such as volume or attack.
This slow, staged approach mirrors what’s taught in early guitar grade materials and works whether you’re decoding a riff on your own or seeking advice from a knowledgeable instructor or fellow player. If a passage still won’t click after a few sessions, personalized guidance can often help overcome difficulties quickly.
Why tab is widely recommended as a starting point for beginners
We think tab is the most practical entry point into guitar because it asks nothing of you beyond knowing your six strings and being able to count frets, no years of theory required first. It gets a beginner playing real songs within a single sitting, which is what keeps most people motivated past the first few frustrating weeks.
That said, tab reads best on an instrument that’s actually set up to respond the way it should, which is why it helps to have an expert setup before sale, whether a guitar is new or pre-loved. It’s beneficial to try guitars in-store to feel the neck and action before committing, and to have access to post-sale support if a tuning peg slips or an action needs adjusting after purchase. If you’d rather work through your first tab sheet with someone standing next to you, consider booking an in-store session and bringing the tab along.
— Music
MusicStreet products that make learning tab easier
Once you’re comfortable reading numbers on a page, a handful of tools speed up the next stage. The Vaieology Music Theory Book for Guitar Players builds the theory underneath tab, helping you understand why certain notes sit where they do, which makes memorising and predicting fingerings far easier once you’ve moved past your first few songs.

Keeping your guitar playable matters just as much as reading the tab correctly. The CruzTools Groovetech Guitar Player Tech Kit covers the basic adjustments, string height, intonation and truss rod checks, that keep an instrument comfortable to practise on, rather than fighting a guitar that’s gone out of setup.
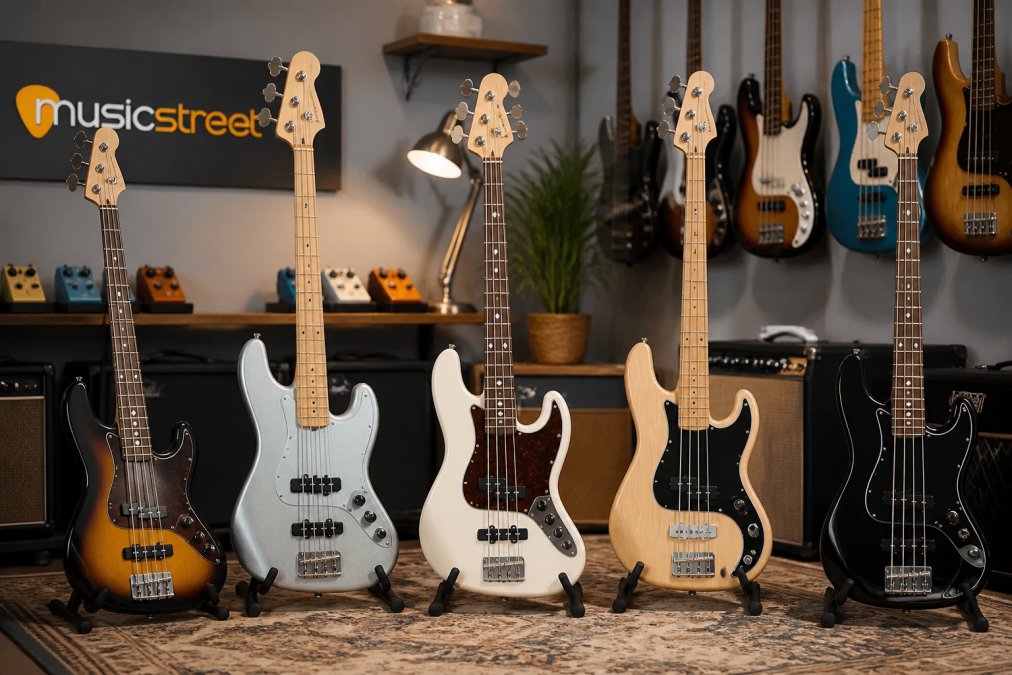
If you’re working through bass tab specifically rather than six-string guitar tab, the Aria TAB Classic Wine Red bass guitar is a solid four-string option for beginners moving from guitar tab reading into bass lines, which follow the same left-to-right, fret-number logic on four strings instead of six.
- Buy the theory book once you can already read basic tab and want to understand why it works.
- Pick up a tech kit as soon as you own your first guitar, not only when something feels wrong.
- Consider a bass like the Aria TAB Classic if you’re drawn to low-end riffs rather than lead lines.
If you’re not sure which of these fits your stage, a quick visit or message to a reputable guitar shop can get you a straight answer.
Sources
The London College of Music’s grade one rock guitar handbook sets out the basic six-line tab structure and fret-number rules referenced throughout this guide. Its grade six handbook covers how rhythm is typically handled once tab passages become more complex.
For rhythm encoding specifically, the Goldsmiths tab code rhythm documentation explains the letter-based systems some transcribers use to mark note values. The Hakwright tab FAQ remains the most complete plain-English symbol glossary, covering hammer-ons, pull-offs, slides, bends and the tuning and capo conventions covered above.
- London College of Music Examinations rock guitar handbook, grade 1 (2019)
- The guide to guitar tablature notation — how to read and write guitar tab
- Tab code rhythm documentation (Goldsmiths / ISM resources)
FAQ
How do I know which string and fret to play on a tab?
Match the tab line to its string, top line is high E and bottom line is low E, then read the number on that line as the fret to press, with 0 meaning open. Read left to right, and treat numbers stacked vertically as notes played together rather than in sequence.
What are common mistakes when reading tabs?
The most frequent errors are reading the lines upside down, ignoring rhythm entirely, and guessing at fingering rather than planning it. According to the Hakwright tab guide, checking a tab’s legend and listening to the recording resolves most of these issues quickly.
Is it easier to read tabs or chord charts?
Tab is generally considered more approachable for absolute beginners because it shows exact fret positions rather than requiring you to already know chord shapes by name. Chord charts assume prior knowledge of shapes, while tab tells you precisely where to place each finger.
How do I read the symbols on a guitar tab?
Letters and marks like h, p, /, b and ~ represent techniques: hammer-on, pull-off, slide, bend and vibrato, as set out in the Hakwright symbol glossary. Conventions vary between transcribers, so always check for a legend at the top of the tab if a symbol looks unfamiliar.
Does tab tell you the song’s tuning?
Most tabs state the tuning and capo position in a short line at the top of the page before the numbers begin. When that information is missing, the safe default is standard tuning, though it’s worth checking against a recording to be sure.


Share:
Sit 5 Minutes: 38 vs 41 Inch Guitar UK Guide to Fit and Setup