


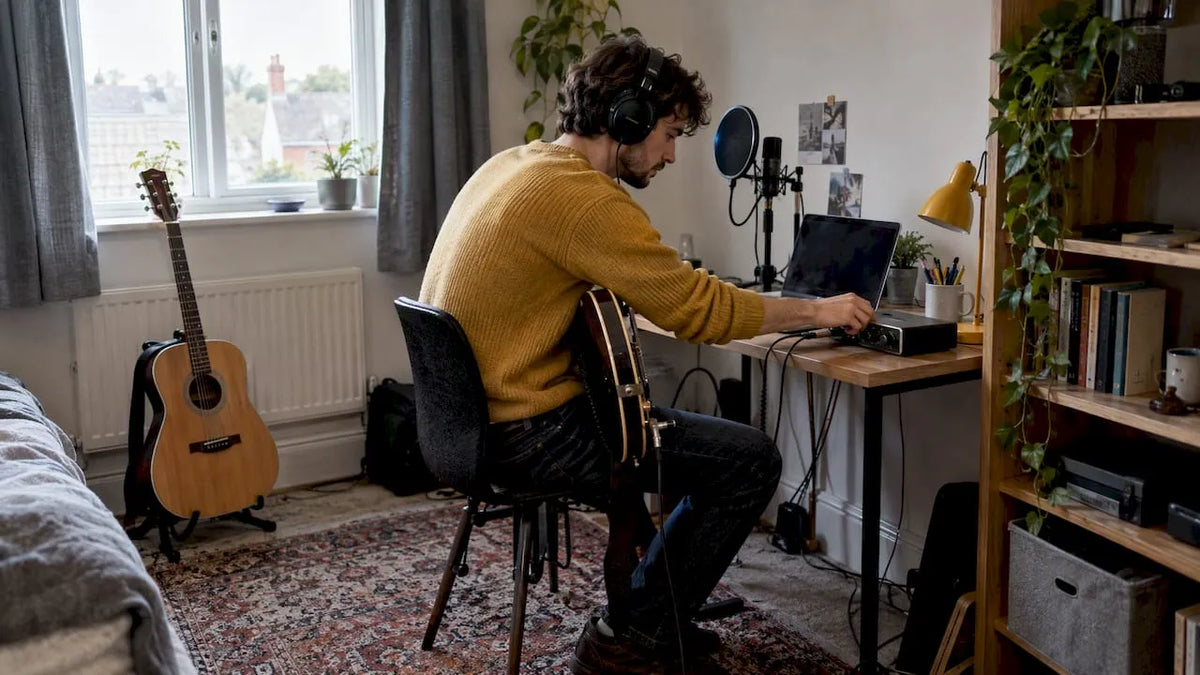
The minimum kit for recording at home is a computer running a DAW, an audio interface, a microphone or USB mic, and headphones or monitors. Start by buying an interface with direct monitoring or a decent USB mic, then spend an afternoon treating the worst reflections in your room. Get those two things right before anything else, and you can record a usable track today.
Table of Contents
- Essential equipment: what to buy first and why
- Room acoustics and treatment on a budget
- Microphone placement and technique for common instruments
- Audio interfaces, DAWs and your monitoring workflow
- Monitoring: headphones vs nearfield monitors and speaker placement
- Budget build: three price points to work from
- Quick fixes for common recording problems
- How MusicStreet helps you get started
- From unpacking to your first session
- Cable management and keeping your power supply clean
- Setting up tracks, inputs and routing in your DAW
- What actually matters when you’re starting out
- Shop MusicStreet or book a setup session
- FAQ
- Sources
Essential equipment: what to buy first and why
Every home studio, however small, runs on the same four building blocks: a computer, a digital audio workstation (DAW), an audio interface, and monitoring. The BBC’s home studio guide confirms this is the fundamental setup: the computer handles processing and storage, the DAW is the software you record and mix in, the interface converts sound into digital audio your computer understands, and monitoring (headphones or speakers) lets you hear what you’ve captured. Electric instruments like guitars and basses can plug straight into the interface; anything acoustic, including vocals, needs a microphone first.
The USB mic versus XLR mic question trips up most beginners. A USB microphone plugs directly into your computer and skips the interface entirely, which makes it the simpler route for solo vocal or podcast-style recording. An XLR microphone needs an interface in between, but that interface also gives you proper gain control, the ability to add more inputs later, and usually a direct monitoring feature that removes the lag you’d otherwise hear through your computer. For anyone planning to record more than one source eventually, the interface route pays off quickly.
Beyond the core four, a short list of accessories makes the difference between a frustrating session and a smooth one:
- An XLR cable and boom-style mic stand if you’re using a conventional microphone rather than USB.
- A pop shield to cut plosive sounds on vocals.
- At least one set of instrument cables for guitar, bass or keys.
- Closed-back headphones for tracking without bleed into the mic.
Hold off on extra microphones, outboard preamps and studio furniture until the basics are working reliably.
For anyone shopping now, the Mxl Usb Studio One covers the simplest starter route as an all-in-one USB mic, while the Studio 24c suits a first XLR-based setup with two inputs. The Studio 26c adds extra connectivity for anyone planning to record a band or add outboard gear later.

Room acoustics and treatment on a budget
Acoustic treatment and soundproofing solve different problems, and beginners regularly confuse them. Soundproofing stops sound getting in or out of a room, which needs mass and decoupling, heavy doors, sealed gaps, sometimes a second layer of plasterboard. Acoustic treatment improves how a room sounds by controlling reflections and bass buildup inside it, which is cheaper and far more relevant to recording quality. Sound On Sound’s guide to acoustic treatment is blunt about priorities: treat reflections before you worry about soundproofing, because untreated acoustics undo even good microphones and monitors.
A practical approach, step by step:
- Find your mirror points by sitting in your listening position and having someone slide a mirror along the side walls; everywhere you can see a speaker in the mirror is a reflection point that needs absorption.
- Place broadband absorption panels at those mirror points and in the corners behind your monitors.
- Add bass traps in the room’s corners, where low frequencies build up most, since even basic corner traps reduce the boom that ruins recordings and mixes alike.
- Use household items as a starting point: a thick rug over hard flooring, curtains over bare windows, a loaded bookcase against a flat wall.
- Build a simple vocal booth from a duvet draped over a clothes airer or boom stand around the microphone when you need a drier, more controlled vocal sound.
For listening position, the 38% rule is a useful shortcut: sitting roughly 38% of the way into the room from the front wall tends to avoid the worst bass nodes, so avoid planting your mixing chair dead centre or hard against a wall.
Pro Tip: Clip-mount acoustic panels to a freestanding frame or hang them from picture rails rather than drilling into rented walls.
Resist the temptation to staple egg boxes to the wall. They do almost nothing acoustically and look unfinished; proper foam or mineral wool panels, even two or three of them placed correctly, outperform a wall covered in cartons. For a tidier, furniture-based route, acoustic media walls are worth a look if you want treatment that doubles as storage, covered in this guide to acoustic media walls.
Microphone placement and technique for common instruments
Good mic placement costs nothing and matters more than any piece of gear you can buy. Shure’s home recording guide sets out starting points that work for most beginner setups:
- Vocals: around 15 cm from the mic with a pop shield in between to control plosives.
- Acoustic guitar: aim the mic at the 12th fret from roughly 20 cm away for a balanced tone.
- Electric amp: place the mic off-axis, 7 to 9 cm from the speaker cone, to soften harshness.
- Simple drum miking: a single overhead or a kick-and-overhead pair captures a usable kit sound without a full multi-mic setup.
When you use more than one microphone on a source, the 3-to-1 rule keeps phase cancellation under control: the distance between two microphones should be at least three times the distance from each mic to its source. Ignore this and recordings can sound thin or hollow once the tracks are combined.
Before committing to a take, always run a test recording. Watch your interface’s input meter and your DAW’s channel meter while you perform at realistic volume, and adjust the gain so the loudest peaks sit comfortably below the red clipping zone. This single habit, confirmed as standard practice in Shure’s guide, prevents the harsh digital distortion that ruins an otherwise good take.
If you’re overdubbing, meaning recording a new part while listening back to existing tracks, monitor through your interface’s direct monitoring feature or a USB mic’s built-in headphone output rather than through your computer. Monitoring through the computer introduces latency, a short delay that throws off timing.

Audio interfaces, DAWs and your monitoring workflow
Most beginners overthink the interface. Two inputs are enough to record a vocalist and guitarist at once, or to track instruments one at a time, and that covers the large majority of home recording needs before you ever consider a band session.
Direct monitoring is the feature that matters most when comparing interfaces. It routes the incoming signal straight to your headphones before it reaches the computer, so you hear yourself in real time with no delay, which is essential once you start layering parts. The Audacity manual’s guidance on overdubbing confirms that monitoring through the recording device itself, rather than the computer’s sound card, is the fix for the lag that otherwise makes overdubbing feel unworkable.
On the software side:
- Free DAWs such as Audacity are a genuinely usable starting point for multitrack recording and overdubbing.
- Paid DAWs add more editing flexibility and plugin support once you outgrow the basics.
- Set your project to 44,100 Hz sample rate, the standard for music, and the highest bit depth your interface and DAW support.
- Plug your interface directly into a USB port on your computer rather than through a hub, which can introduce dropouts, and check that your interface’s drivers are up to date before your first session.
Monitoring: headphones vs nearfield monitors and speaker placement
Closed-back headphones are the right choice for tracking, since they seal out the room and stop your microphone from picking up the headphone mix. Open-back headphones and nearfield monitors suit mixing better, because they reveal a more natural, accurate sound once the room around them is under control.
If you set up monitors, the positioning rules from MusicRadar’s speaker positioning guide apply directly: form an equilateral triangle between the two speakers and your listening position, with tweeters at ear height, and keep speakers away from boundary walls and corners where bass piles up.
- Start with budget studio headphones, such as the Audio-Technica ATH-M40x, before investing in monitors.
- Use a familiar reference track you know well to check whether your setup sounds balanced or coloured.
- Prioritise accurate monitoring over extra microphones when deciding where to spend your next upgrade budget, since you can’t mix what you can’t hear properly.
Budget build: three price points to work from
A sensible build follows a clear order: interface and mic first, room treatment second, extra inputs and monitors later.
- Intermediate build: a two-input interface like the Studio 24c, a dynamic vocal mic such as the Shure PGA58, closed-back headphones and a handful of absorption panels at your mirror points. This covers full-band demos recorded one part at a time.
- Upgrade path: a four-input interface such as the Studio 26c for simultaneous recording, a second microphone like the Shure PGA57 for amps or percussion, and nearfield monitors once your room treatment is solid.
When buying used gear, check cables and connectors for wear, ask to hear a test recording before collecting a microphone, and confirm an interface’s drivers still receive updates for your operating system. Spend any upgrade budget on monitoring and treatment before a second or third microphone: as Sound On Sound notes when planning a first home studio, accurate monitoring deserves the same priority as the recording side.
Quick fixes for common recording problems
- No sound: check the cable connections, confirm the correct input is selected in your DAW, and make sure phantom power is on if your microphone needs it.
- Hums or buzzing: reroute cables away from power leads, check your interface is properly grounded, and test whether the hum disappears when your laptop runs on battery power.
- Clipping or distortion: lower the gain on your interface, move the mic slightly further from the source, and recheck levels with a fresh test recording.
- Muddy recordings: move the mic away from reflective surfaces and add absorption at the nearest mirror point.
- Latency while overdubbing: switch on direct monitoring, and only increase your DAW’s buffer size once you’re mixing rather than recording.
How MusicStreet helps you get started
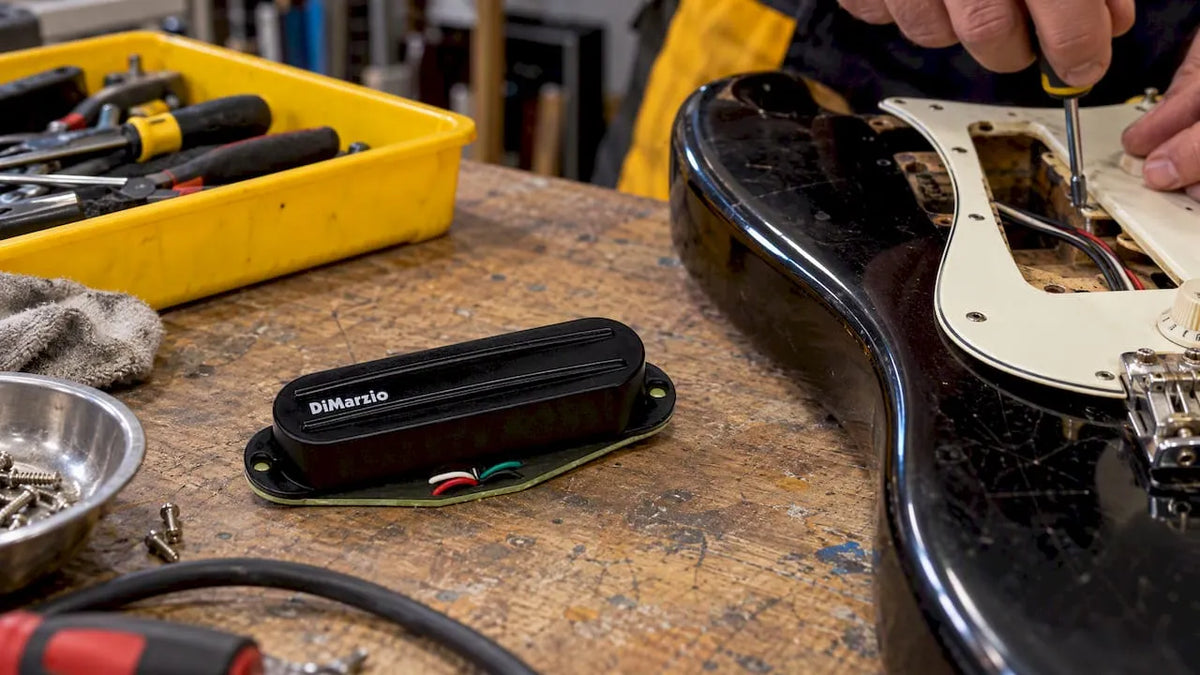
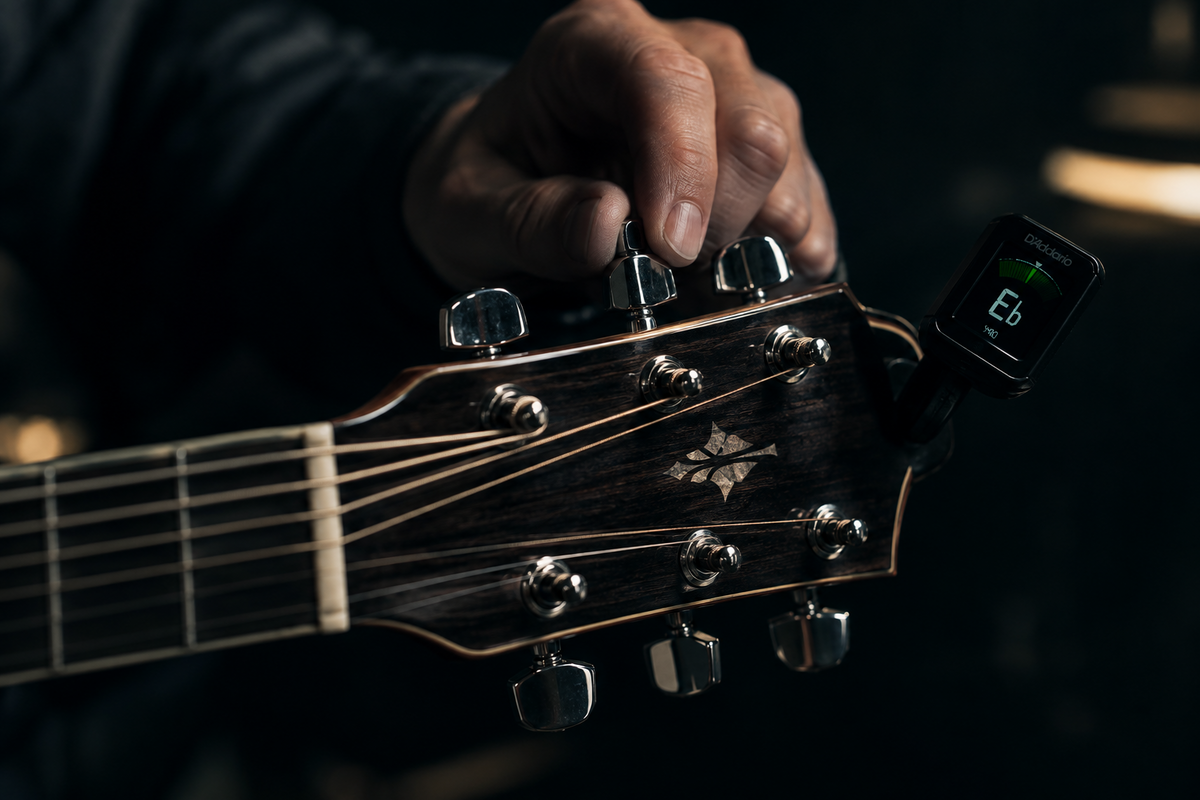
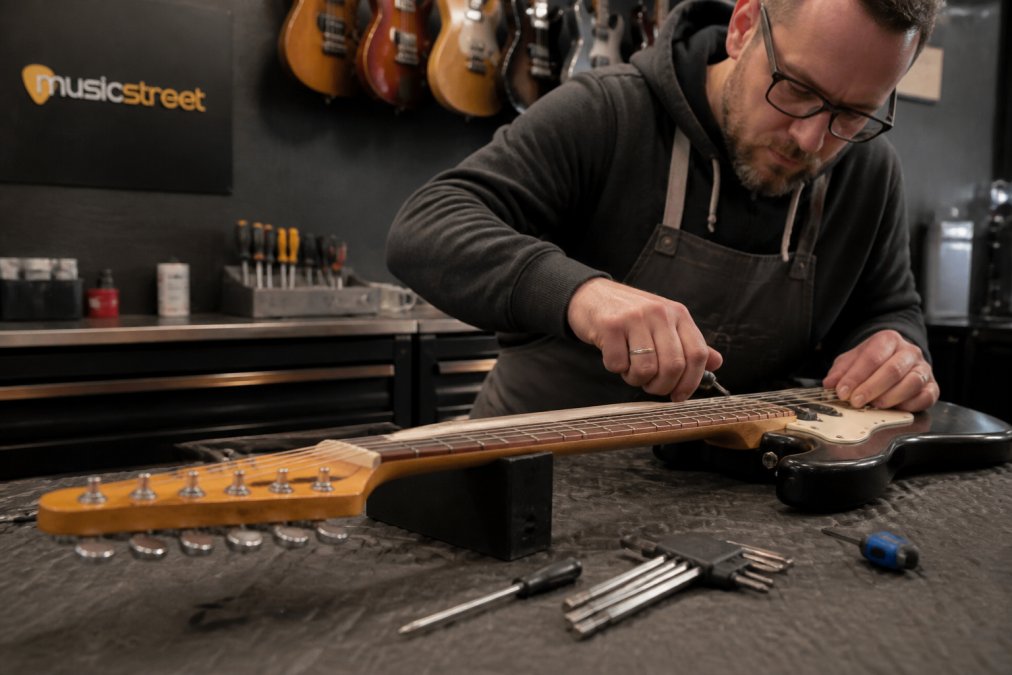
We inspect and set up every instrument we sell, so a guitar or bass arriving for your home studio is ready to plug in and record, not left needing a professional once it’s out of the box. Our in-store team can talk through microphone and interface choices in person, and our repair and restring services keep existing gear recording-ready.
- The Studio 24c fits the intermediate two-input setup.
- The Studio 26c supports the upgrade path for multi-source recording.
From unpacking to your first session
Unbox your interface and microphone first, and check nothing’s missing against the box contents before you start cabling anything together. Install any drivers your interface needs, restart your computer, then open your DAW and confirm it lists the interface as both the input and output device in its audio settings.
Connect your microphone or instrument to input one, plug headphones into the interface’s headphone output, and set your interface’s output level low to start. Create a new audio track in your DAW, arm it for recording, and speak or play into the mic while watching the input meter on both the interface and the DAW channel.
Run a short test recording, listen back through your headphones, and adjust gain if the peaks are too quiet or too close to clipping. Once levels look right, record a full take, naming the track clearly so later sessions don’t become a maze of unlabelled files. Save the project immediately after your first successful take, and set your DAW to autosave from that point onward so a crash doesn’t cost you the session.
Cable management and keeping your power supply clean
Interference and hums usually trace back to cable routing rather than faulty gear. Run microphone and instrument cables separately from power cables, and if they must cross, let them cross at a right angle rather than running parallel for any distance, since parallel runs pick up more electrical noise.
Use a single wall socket or surge-protected extension for your computer, interface and any powered monitors where possible, since mixing power sources across different sockets or circuits is a common cause of ground loop hum. If you hear a persistent buzz, unplug your laptop’s charger and run on battery briefly: if the hum disappears, the charger or its socket is the source.
Keep cables tidy with velcro ties rather than tight zip ties, which can damage the internal wiring over time, and leave enough slack at each connection point so a stray knock doesn’t pull a plug loose mid-take. Label your cables if you’re running more than two or three, since tracing a dead signal back through a tangle of identical leads wastes far more time than labelling ever costs. If phone interference ever causes a buzz through nearby speakers or a muffled call, a quick case and microphone check can rule out the device itself before you start troubleshooting your studio gear.
Setting up tracks, inputs and routing in your DAW
Every DAW session starts the same way: create an audio track, then assign it to receive input from the correct channel on your interface. With a two-input interface, input one usually feeds the left channel and input two the right, so check your DAW’s input dropdown on each track matches the physical input you’ve plugged into.
Set the track’s monitoring to “input” while recording so you hear the live signal, then switch it to “auto” or “off” for playback once your take is recorded, which avoids hearing the same signal twice. If you’re recording more than one source, create a separate track for each, and route each to its own interface input rather than combining them, since separate tracks give you independent control over levels and effects later.
Patching simply means directing a signal from one point to another, whether that’s a microphone into input one, a guitar into input two, or a software instrument into a virtual track. Most beginner sessions need nothing more complex than this straightforward input-to-track assignment, and the free Audacity manual covers the same routing logic for anyone starting on a free DAW.
What actually matters when you’re starting out
The gear you buy first is rarely the thing holding your recordings back. Untreated reflections and a badly placed microphone will make an expensive interface sound as rough as a cheap one, yet most beginners spend their first budget on a second microphone or a flashier preamp rather than a few acoustic panels and an afternoon testing mic positions.
Conventional buying guides tend to rank gear by spec sheet: more inputs, higher sample rates, more headroom. None of that compensates for recording in an untreated box room with the mic pointed at a bare wall. If your budget is tight, treat the room and get your gain staging right before upgrading anything else; a correctly placed budget mic in a treated corner will consistently outperform a premium mic recorded badly.
Start with the four essentials, test-record relentlessly, and treat your room before you treat yourself to new gear.
— Music
Shop MusicStreet or book a setup session
If you’d rather see and hear your options before buying, our electric, acoustic and bass ranges are available to try in-store, alongside interfaces, microphones and accessories for your recording setup.

Every instrument we sell gets a full expert setup and inspection before it reaches you, and UK orders over our delivery threshold ship free. If something needs attention later, our repair and servicing team and restring service are on hand, whether you bought with us or not. Pop in or browse online when you’re ready, no pressure either way.
FAQ
What equipment do you need to set up a home recording studio?
You need a computer, a DAW, an audio interface, a microphone or USB mic, and headphones or monitors, as confirmed by the BBC’s guide to home studio essentials. Add an XLR cable, pop shield and mic stand if you’re using a conventional microphone rather than a USB one.
How much does it cost to set up a home recording studio?
Costs scale with your build: a starter setup with a USB mic and free software costs far less than an intermediate build with a two-input interface, dedicated microphone and basic acoustic panels. Spending on room treatment and monitoring tends to improve recordings more than spending the same money on extra microphones.
How can I create my own music studio at home?
Start with the four core elements, computer, DAW, interface and monitoring, then treat your room’s mirror points and corners with affordable absorption and bass traps before recording. Test-record to set your levels correctly, as recommended in Shure’s home recording guide, and place microphones using standard starting distances for vocals and instruments.
What’s the single biggest mistake beginners make when setting up?
Neglecting room acoustics is the most common and costly mistake, since untreated reflections and bass buildup undermine even good microphones and monitors, according to Sound On Sound’s acoustic treatment guide. Treating mirror points and corners first delivers a bigger improvement than most gear upgrades.


Share:
Guitarists: Pentatonic Scale Theory That Turns Boxes into Improv