

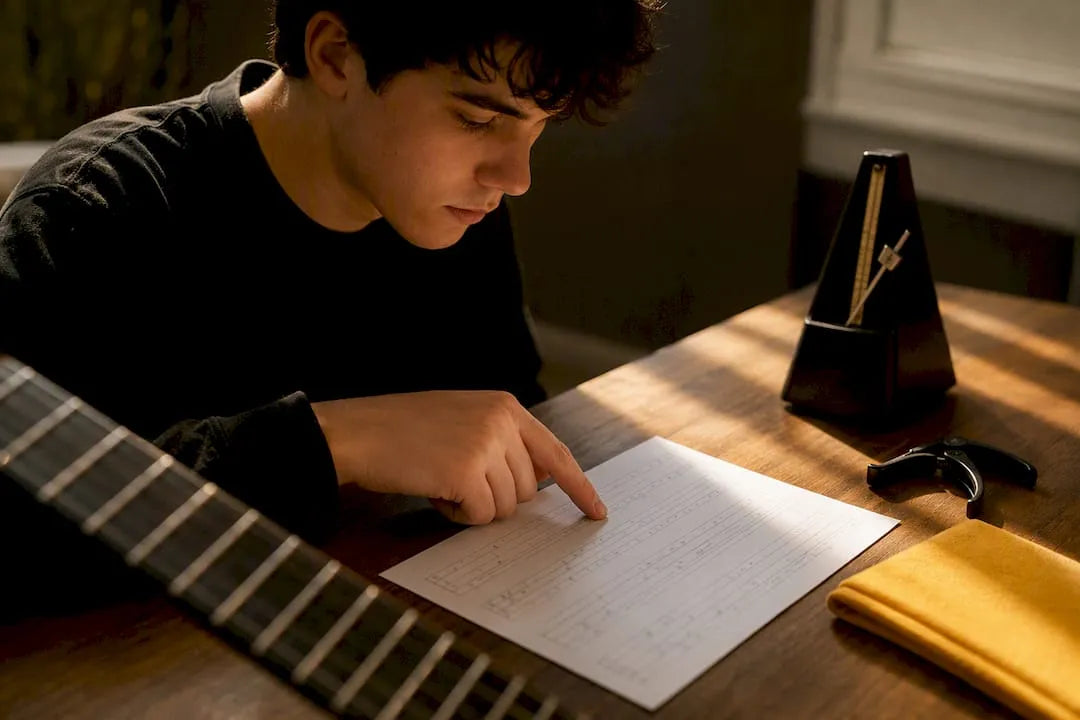
Tablature (tab) shows which string to play and which fret to press, and you read it left to right, treating stacked numbers as notes played together. Each horizontal line stands for a string, each number tells you which fret to hold down, and 0 means an open string. What tab usually will not tell you is timing, so you will need to lean on the recording or on standard notation when rhythm gets tricky.
Table of Contents
- Tab anatomy: strings, fret numbers and basic reading rules
- Common symbols and techniques you will encounter in tab
- Understanding rhythm and timing in tab: what tab shows and what it usually omits
- Reading bass tabs: differences and common bass techniques
- Common mistakes and quick troubleshooting when reading tabs
- A short practice plan: 4 exercises to turn tabs into playable music
- Why MusicStreet’s practical experience matters for learners
- How MusicStreet can help (tools, kits and setup)
- Author perspective: combine tabs with listening and basic theory
- Sources
- FAQ
Tab anatomy: strings, fret numbers and basic reading rules
Guitar tab uses six horizontal lines, one for each string, and bass tab uses four. The London College of Music’s grade one handbook confirms that tablature represents strings as horizontal lines, with numbers on those lines showing which fret to press, and a 0 meaning the string is played open. This is the whole system in one sentence: lines are strings, numbers are frets.

The orientation trips up a lot of beginners. On guitar tab, the top line represents the high E string (the thinnest one, closest to the floor when you hold the guitar in playing position), and the bottom line represents the low E string (the thickest one, closest to your face). It feels backwards at first because you would expect “top” to mean the string nearest the ceiling, but tab mirrors how the strings sit when you look down at the fretboard while playing.
Fret numbers can be single digits (0 to 9) or two digits (10 and above, up to 24 on most guitars). Read them in sequence, left to right, exactly as you would read text. A line that shows:
- e|–0–2–3–| tells you to play the open high E string, then fret 2, then fret 3, in that order on the same string.
- Numbers stacked vertically across multiple lines, such as a 0, 2, and 2 sitting directly above one another, mean you play all three notes at once, forming a chord.
- A gap or dash with nothing written on it simply means that string is not played at that moment.
Chords and multi-note voicings work the same way: if you see several numbers lined up in a single vertical column, your fingers need to land on all of those frets simultaneously. This is where tab becomes genuinely useful for quick learning, because you can see a chord shape at a glance without needing to read a chord diagram separately.
One detail that catches out even intermediate players is tuning and capo information. Well-written tabs state the tuning at the very top, before the first line of notation, especially when a song uses anything other than standard EADGBE tuning. Drop D, open tunings, and half-step-down tuning are common enough that skipping this line will leave you playing the right frets on the wrong pitches. Capo instructions appear the same way, usually as a simple note such as “capo 2nd fret,” and you need to apply that before you play a single note. If a tab does not mention tuning or a capo and the chord shapes feel unnaturally hard, that is often the first sign something is missing from the notation, a point worth returning to when troubleshooting a stubborn tab later on.
Common symbols and techniques you will encounter in tab
Once you can read plain numbers, the next layer is the shorthand that shows how a note should be played, not just which note. A practical tab legend from Hakwright lists the standard symbols used across most tab formats, and they are worth memorising early because they appear constantly:
- h (hammer-on): pick the first note, then tap the next fret with another finger without picking again, letting the string ring through both notes.
- p (pull-off): the reverse of a hammer-on. Fret two notes, pick the higher one, then flick your finger off to sound the lower note without a second pick stroke.
- b (bend) and r (release): push or pull the string across the fretboard to raise the pitch, then release it back down; the number after the “b” often shows how far to bend, such as a full step or a half step.
- / and ** (slides): drag your finger up or down the fretboard from one fret to another while keeping pressure on the string, letting the pitch glide between notes.
- ~ (vibrato): wobble the string slightly with your fretting hand to add a subtle pitch variation, usually placed after a held note.
- t (tap): strike the string directly onto the fretboard with your picking hand finger, common in lead guitar runs.
- x: mute the string, either by resting a finger lightly across it or by damping with your picking hand, producing a percussive click rather than a clear pitch.
These symbols often combine into short strings of characters that look confusing until you break them down. A sequence like 7b9 means fret the 7th fret and bend the string until it sounds like the 9th fret. A sequence like 7h9 means hammer from fret 7 to fret 9 on the same string. A sequence like 9p7 means the opposite: start at fret 9 and pull off to fret 7. Read each character in order and translate it into a single hand movement, and even a dense-looking line of tab becomes a short list of actions.
Pro Tip: When a symbol combination confuses you, say the letters out loud as actions (“fret seven, hammer to nine”) before you try to play it. Turning notation into spoken instructions first makes the finger movement far easier to commit to muscle memory.
Not every tab author uses identical notation. Some write bends as “b” followed by a fraction (b1/2 for a half-step bend), others just write “b” and expect you to judge the distance by ear. Slides are sometimes shown with a single slash regardless of direction, relying on context to tell you whether you are sliding up or down. This inconsistency is normal across user-submitted tabs, and it is exactly why checking your interpretation against the actual recording matters more than trusting the symbol legend in isolation. A tab is a starting point for your fingers, not a substitute for your ears.
Understanding rhythm and timing in tab: what tab shows and what it usually omits
Tab is excellent at showing you which notes to play and largely silent on how long to hold them. The London College of Music’s grade two handbook notes that tablature often omits precise rhythm, and it advises consulting standard notation and the original recording to work out timing accurately. This single gap causes more beginner frustration than any symbol or fret number ever does.
Some tabs try to compensate with spacing: notes written close together are implied to be played quickly, and notes spread further apart suggest a slower pace. This works loosely but it is not a reliable system, since spacing depends entirely on how carefully the person who typed the tab formatted their text file. The same London College of Music guidance points out that when rhythm genuinely matters for accurate performance, standard notation paired with the recording is the more dependable route.
When a tab does include a rhythm line, usually shown as a row of stems, dots or note values above or below the fret numbers, use it. Many exam-board and educational sources pair tab with standard notation specifically to remove this ambiguity, showing the same passage in two formats so nothing is left to guesswork.
Here is a practical sequence for working out timing when a tab gives you none:
- Listen to the full track first, without your guitar in hand, and simply tap the beat with your foot to internalise the pulse.
- Loop the section you are learning, using a music player or app that supports repeat sections, so you hear the phrase enough times to memorise its shape.
- Slow the recording down using a slow-down tool or app, which lets you hear individual notes that blur together at full speed.
- Play along with a metronome set well below performance tempo, matching your fretting to the click rather than to memory.
- Increase the tempo gradually, only moving up once the slower speed feels completely comfortable and in time.
Treat the tab as your map of which notes to play, and treat your ears as the authority on when to play them.
Reading bass tabs: differences and common bass techniques
Bass tab uses four lines instead of six, one for each string of a standard bass (E, A, D, G from low to high), and the same top-line-is-highest-pitch rule applies. The core reading method is identical to guitar tab: numbers are frets, 0 is open, and stacked numbers mean notes played together, though genuine chords are far less common on bass since most bass lines are single-note.
Bass playing brings its own techniques that show up in tab notation, and a few deserve specific attention:
- Slap and pop: often marked with an “S” or “slap” above a note (thumb strikes the string against the fretboard) and a “P” or “pop” for notes plucked sharply away from the fretboard with the fingers, producing the percussive funk sound heard in a lot of bass lines.
- Ghost notes: shown as an “x” on the bass string, the same muted-note symbol used in guitar tab, producing a rhythmic thump rather than a clear pitch.
- Double stops: two notes played together on adjacent strings, shown as stacked numbers just as with guitar chords, though used more sparingly in bass parts.
As with guitar, transcribed slap and pop notation often varies between tab authors, so checking the tab’s own legend and playing along slowly to confirm the intended articulation is worth the extra minute. A short practice riff using open E, fret 2 on the A string, and a slap on the open D string is a manageable way to feel the difference between a plucked note and a slapped one before attempting a full bass line.
Common mistakes and quick troubleshooting when reading tabs
The most frequent error is assuming a tab shows complete, accurate rhythm when, as covered above, most simply do not. Beginners often play every note as if it lasts the same length, producing something that sounds nothing like the song despite every fret number being correct.
A second common mistake is trusting a single tab without question. User-submitted tabs vary in quality and accuracy, and practitioner guidance from Songsterr points out that a common beginner pitfall is assuming tabs include full rhythm, recommending listening to the original track and using slow-down tools to check your reading. Cross-referencing two or three versions of the same tab before committing your practice time to one is a quick habit that saves frustration later.
A third mistake is skipping tuning or capo instructions printed at the top of a tab, then wondering why a chord shape feels impossible to fret comfortably. If a passage seems unusually awkward, check for a missed tuning note before assuming your technique is at fault.
A significant portion of amateur guitarists do not receive a professional setup on their instrument, according to how string height, intonation and fret wear are commonly discussed across guitar maintenance guidance, though no single figure captures this precisely across every player population. A poorly set up instrument makes accurate tab playing harder regardless of how well you read the notation, since buzzing strings, high action or incorrect intonation will throw off both pitch and feel.
Quick checks when a tab feels wrong:
- Cross-check the tab against at least one other version or the recording itself.
- Slow the audio down to hear individual notes clearly before deciding a tab is inaccurate.
- Test an alternative fingering if a fret combination feels physically impossible, since tab authors do not always choose the most comfortable hand position.
- Check tuning and capo notes at the top of the file before assuming the tab itself is wrong.
A short practice plan: 4 exercises to turn tabs into playable music
Reading tab correctly is only half the job. Turning it into music that sounds like the recording takes deliberate, short practice sessions rather than one long attempt at speed.
- Single-string reading and open notes (5 to 10 minutes): pick a simple tab line using only one string and play through the fret numbers slowly, saying each fret number aloud as you play it to link the symbol to the sound.
- Add fingering and basic hammer-ons or pull-offs: once the plain notes feel comfortable, introduce the h and p symbols from the same passage, isolating just the hammer-on or pull-off movement until it rings cleanly.
- Stacked notes and chord transitions: move to a section with vertically aligned numbers, fretting the full chord shape in one motion, then practise switching between two chord shapes smoothly before adding any strumming pattern.
- Timing with a metronome: loop a single bar, set a metronome well under the target tempo, and play the bar on repeat until it locks with the click, increasing speed in small steps only once each tempo feels solid.
Pro Tip: Keep each exercise under ten minutes and stop as soon as you can play it cleanly twice in a row. Short, focused repetitions build accuracy faster than one long session where fatigue creeps into your fretting hand.
Working through these four stages in order, rather than jumping straight to full speed, is the difference between a tab you can technically decode and a piece of music you can actually play.
Why MusicStreet’s practical experience matters for learners
Reading a tab correctly still depends on an instrument that responds the way it should. A well-established guitar retailer operates as both an online and physical store selling electric, acoustic and bass guitars, alongside amps, effects, cases and accessories, and offers professional setup and repair services rather than leaving buyers to work out intonation and action on their own.
A guitar with poorly cut nut slots, worn frets or incorrect intonation makes even a perfectly read tab sound wrong, since bends go sharp, hammer-ons buzz, and chords ring unevenly. An expert setup and inspection process, paired with insurance-backed warranties and post-sale support, is built to remove that variable before a learner even opens a tab file. Getting the instrument right first means the only thing left to get right is your reading and your ears, which is the part tab notation can actually teach you.
How MusicStreet can help (tools, kits and setup)
If your fretting hand is doing everything right but the guitar itself is fighting you, a proper setup or a few targeted accessories solve that faster than more practice ever will. Three products worth knowing about if you are working through tab regularly:

- The Aria TAB Classic Wine Red bass guitar gives new bass players a properly built four-string instrument to apply the slap, pop and fretting techniques covered above.
- The CruzTools Groovetech Guitar Player Tech Kit lets you make small adjustments, tightening loose hardware or tweaking action, between professional setups.
- The Graph Tech PQL-6010-AG XL TUSQ Aged Gibson Slotted Nut improves tuning stability and string break angle, both of which affect how cleanly bends and slides ring out.
Two straightforward next steps: book a guitar setup or repair so your instrument plays accurately in the first place, or browse electric, acoustic or bass guitars if you are still choosing your first instrument. A fresh set of strings from the In-Store Restring Service is also worth considering before any serious tab practice session, since dead strings make bends and hammer-ons far harder to judge by ear.
Author perspective: combine tabs with listening and basic theory
Tabs are a shortcut, and a genuinely useful one, but treating them as the whole picture is where most self-taught players stall. The symbols tell you where to put your fingers, not how the phrase should breathe, and that gap only closes when you pair tab with active listening and a gradual grasp of basic notation. I would rather see a beginner play three songs slowly and accurately by ear-checking their tab than twenty songs fast and wrong.
Work through the four-exercise practice plan above on one song this week, and resist the urge to skip straight to full tempo. If your instrument is fighting you rather than helping you, get in touch with MusicStreet about a setup, a restring, or advice on the right kit for where you are in your playing.
— Music
Sources
For deeper notation detail, the London College of Music’s rock guitar grade one and grade two handbooks cover tab fundamentals and rhythm guidance in full. The Hakwright tab FAQ and Geoff Cooper’s tab-reading guide offer practical symbol references, while BBC Bitesize on harmony places tab within broader notation methods.
- London College of Music Examinations rock guitar handbook grade 1
- The guide to guitar tablature notation - Hakwright
- How To Read Tabs Quickly And Easily — Geoff Cooper
FAQ
Are tabs hard to read?
Tabs are one of the more approachable notation systems because numbers and lines map directly onto strings and frets rather than requiring you to read pitch on a staff. The main difficulty is not the symbols themselves but the missing rhythm information, which is why pairing a tab with the recording makes the whole system click much faster.
What are common mistakes when reading tabs?
The biggest mistakes are assuming a tab shows exact rhythm, trusting a single version without checking it against the recording, and ignoring tuning or capo notes printed at the top of the file. Cross-checking your tab against the actual song and testing alternative fingerings when something feels physically awkward avoids most of these problems.
Is it easier to read tabs or chords?
Tabs are generally quicker to pick up for exact fret positions and lead lines, while chord diagrams or chord names are often faster once you already know common shapes, since you do not need to work out each individual note. Many players use both together: chord names for rhythm playing and tab for riffs, solos or bass lines that need precise fret positions.
How do I read finger tabs?
Finger tabs work the same way as standard tab: each horizontal line is a string, each number is a fret, and additional letters or symbols such as h, p, b or x show the specific technique to use on that note. Reading them left to right and translating each symbol into a single hand movement, as with a hammer-on or a slide, is the same process used for any tab notation.




Share:
Read Tablature in a Couple of Weeks, Practice Plan for Beginners