


Tune your guitar to standard E A D G B E using a chromatic or clip-on tuner, going string by string from the low E through to the high E, then run a second pass once the first has settled.
- Switch the tuner to chromatic or guitar mode
- Set the reference pitch to the standard concert pitch if the tuner offers the option
- Tune in order: low E → A → D → G → B → high E
- Bring each string up to pitch from slightly flat, then repeat the whole sequence once more
That second pass matters more than most beginners realise, because tightening one string shifts tension across the neck and nudges the others slightly out.
TL;DR:
- Running a second pass after initial tuning ensures the tension adjustments from tightening one string do not throw off the overall pitch stability.
- Clip-on vibrational tuners excel in noisy environments and provide reliable readings, especially when tuning electric guitars with pedal tuners.
- Properly stretching new strings at the 12th fret and retuning repeatedly prevents rapid pitch drops as strings settle.
- Tuning up from slightly flat and waiting for notes to reach a sustain plateau produces more accurate and stable results.
- Correct intonation, verified by comparing the open string to the 12th fret harmonic or note, is essential for chords to sound in tune across the neck.
Table of Contents
- Which tuner should you use for how to tune your guitar?
- A practical step-by-step tuning routine
- How do you tune a guitar by ear?
- Making tuning stick after new strings
- Why chords still sound wrong even when you’re in tune
- What about drop D and other alternative tunings?
- Key Takeaways
- Sources
- FAQ
Which tuner should you use for how to tune your guitar?
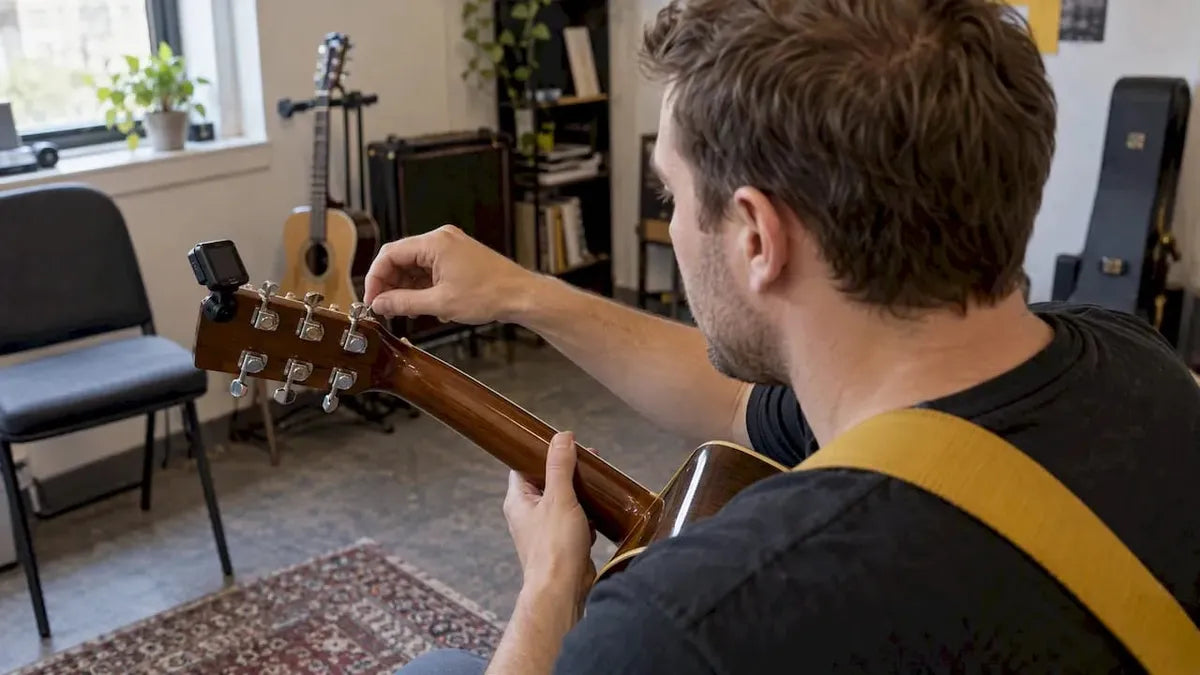
Clip-on tuners read the vibration of the wood itself rather than sound through a microphone, which makes them the most forgiving option in a noisy room, a classroom, or a busy house. Clip-on vibration tuners perform reliably in noisy environments where a phone app or a built-in microphone tuner can struggle to pick out your string over background chatter. Pedal tuners suit electric players who plug in already, since the signal goes straight from guitar to pedal with no ambient noise involved at all. Phone apps work fine at home in a quiet room, but they are the first to fail once a television or a barking dog enters the picture.

Chromatic mode detects all 12 notes of the scale and displays how far off you are in cents, a unit that measures pitch distance far more precisely than the eye alone. Chromatic tuners report pitch in cents, which is useful once you start experimenting with alternate tunings, but a simpler guitar-only mode does the job for standard tuning and is often less fiddly for a beginner.
Pro Tip: If your tuner has a needle and a set of lights, trust the needle centring more than the colour. Some cheaper tuners flash green a few cents either side of true pitch, which is close enough to play but not close enough for recording.
Standard tuning breaks down to six specific pitches, each an octave or so apart. Standard tuning corresponds to the pitches E2, A2, D3, G3, B3 and E4 from the thick low E string up to the thin high E, running from the thick low E string up to the thin high E. You do not need to memorise those numbers. A decent tuner reads them for you, but knowing that the low and high E strings are two octaves apart helps you catch an obvious mistake, like tuning the low E an octave too high by accident, something almost every beginner does at least once.

A practical step-by-step tuning routine
Set yourself up properly before you touch a single peg. Find a reasonably quiet spot, mute the strings you are not tuning by resting your palm across them near the bridge, and check your tuner has fresh batteries and hasn’t drifted from A440 if it allows manual calibration.
- Pluck the low E string on its own, cleanly, and watch the display settle rather than reacting to the first flicker.
- Turn the tuning peg in small increments. A quarter-turn moves the pitch more than you’d expect on a fresh string.
- Repeat for A, then D, then G, then B, then high E, plucking each string singly and re-muting the rest as you move across.
- Once you’ve been through all six, go back to the low E and run the whole sequence again.
- Strum an open chord, such as E major or G major, and listen for any string that rings sour, then re-check it individually.
Two technique habits separate a clean tuning job from a frustrating one. First, always tune up to pitch from slightly flat rather than down to it. Professionals recommend tuning up to pitch rather than down to it, because approaching from below keeps tension building in one direction and settles more predictably in the string and the peg mechanism. Second, wait for the note to reach its sustain plateau before trusting the reading. A plucked note’s initial attack can read slightly sharp before settling, which is exactly why a rushed tuning job so often drifts flat within minutes.
Pro Tip: Pluck with your thumb rather than a fingernail or plectrum for tuning. Many beginner tutorials teach this because a thumb pluck produces a rounder, more stable tone that’s easier for both your ear and the tuner to lock onto.
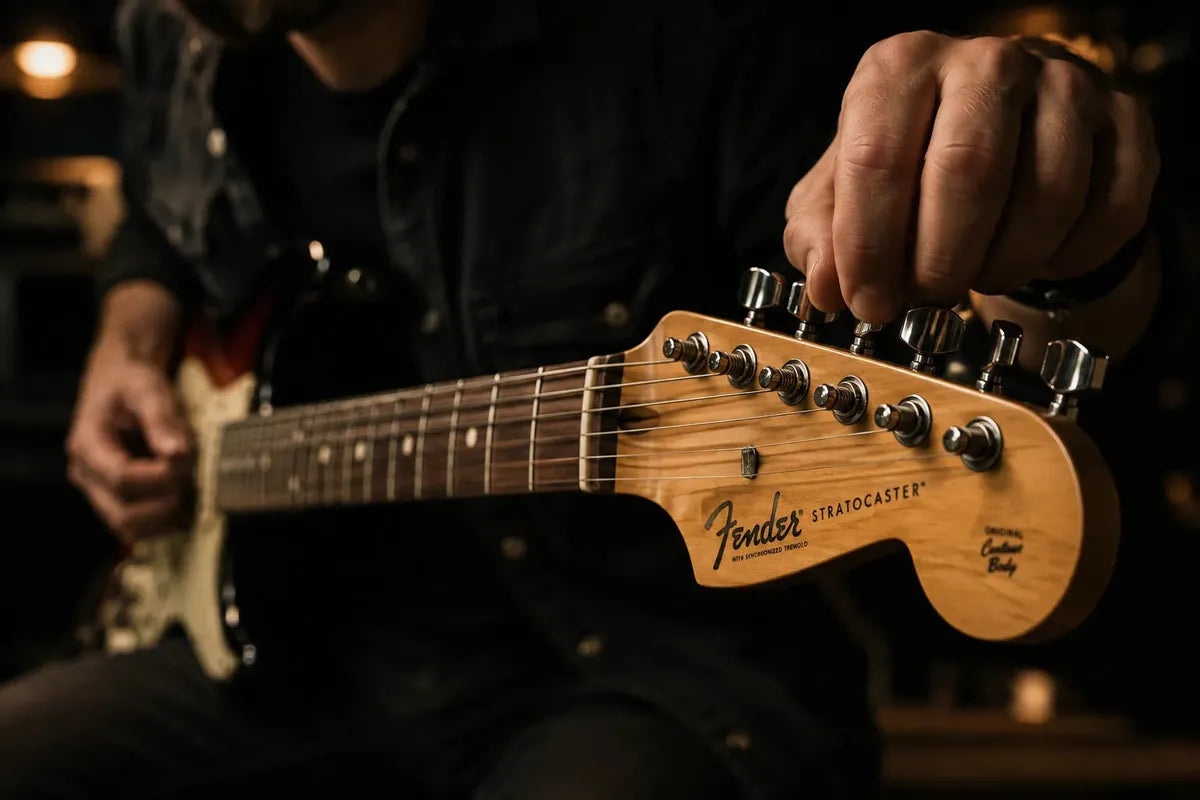
If you’ve got an electric guitar and want tips specific to pedal tuners and pickup selection, the underlying routine is identical. Only the tool you plug into changes.
How do you tune a guitar by ear?
Relative tuning, sometimes called “tuning to itself,” uses one string as a fixed reference and tunes every other string against it, usually with the fifth fret. Press the fifth fret of the low E string and that note should match the open A string beside it. Repeat that same fifth-fret trick across the D, G, and high E strings, with one exception: the B string is tuned from the fourth fret of the G string, not the fifth, because of how the intervals fall in standard tuning.
- Fret 5 of low E should match open A
- Fret 5 of A should match open D
- Fret 5 of D should match open G
- Fret 4 of G should match open B
- Fret 5 of B should match open high E
Harmonics offer a cleaner alternative for the same idea. Lightly touching the string at the 12th fret while plucking produces a bell-like tone that rings longer and clearer than a fretted note, making pitch matches easier to hear between adjacent strings.
Relative tuning can leave a guitar in tune with itself while sitting away from concert pitch, which is fine for solo practice but a problem the moment you play alongside a piano, a backing track, or another guitarist. Try tuning entirely by ear once, then check yourself against a tuner. That gap tells you honestly how reliable your ear currently is.
Making tuning stick after new strings
Fresh strings stretch. A guitar that seems perfectly tuned five minutes after restringing will often be noticeably flat by the time you’ve played through two songs, and that’s completely normal rather than a fault with the instrument.
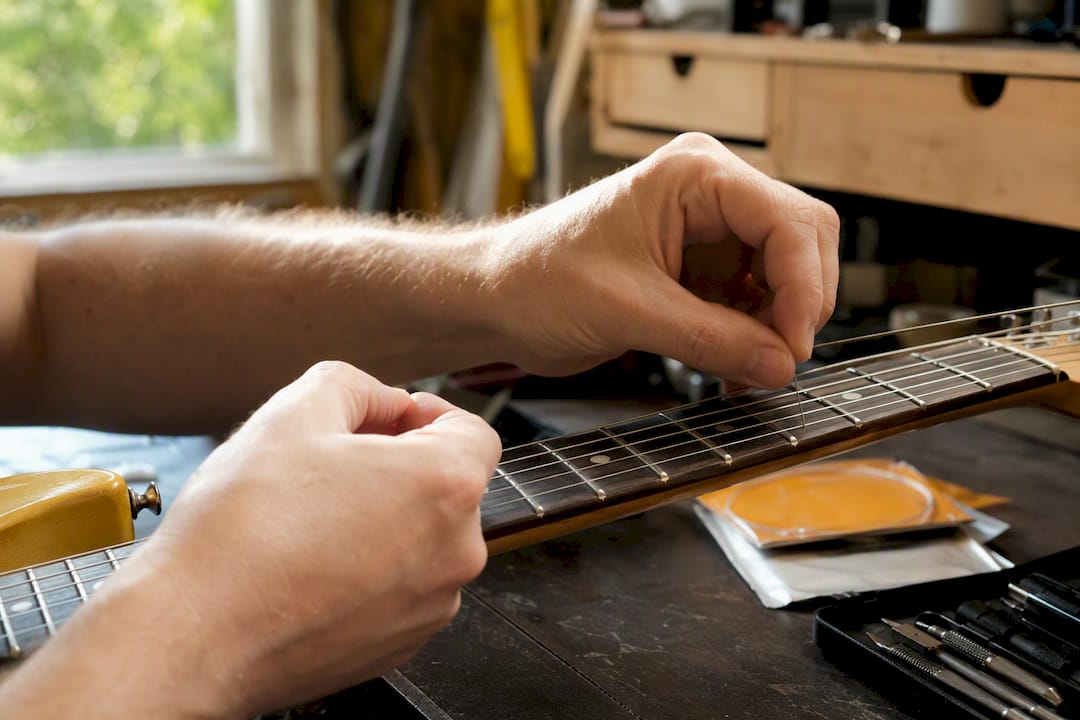
Stretch new strings gently at the 12th fret and retune repeatedly until they stop dropping in pitch. Expect three or four rounds of stretch-and-retune before a set truly settles. Neck tension shifts with temperature and humidity too, so a guitar tuned perfectly in a warm room can drift after a car journey in winter.
Pro Tip: If a guitar needs constant retuning even a week after restringing, and stretching hasn’t helped, that’s usually a hardware issue rather than a string issue. Musicstreet’s setup and inspection service checks nut slots, tuning pegs, and neck relief to find the real cause.
Why chords still sound wrong even when you’re in tune
Open strings can read dead-on and chords can still sound sour higher up the neck. That’s an intonation problem, not a tuning problem, and it’s the single most misunderstood issue beginners run into.
Compare the open string against the fretted note at the 12th fret; they should be exactly one octave apart. If the fretted note reads sharp or flat against the open string, the bridge saddle usually needs adjusting, a job for a technician rather than a DIY fix. Intonation is entirely separate from open-string tuning, so a guitar can pass every open-string check and still play out of tune up the neck.
- Peg slipping mid-song usually means worn gears or a peg that needs tightening at the headstock
- A binding nut slot causes a string to snap sharp instead of turning smoothly, a common culprit behind “pinging” noises
- Old, corroded strings lose the ability to hold pitch accurately regardless of how carefully you tune them
- Comparing the 12th-fret harmonic against the fretted 12th-fret note helps isolate whether the saddle or the nut is the actual source of the problem
A full intonation check and adjustment resolves most of these issues in one visit if the DIY checks above point to a hardware cause.
What about drop D and other alternative tunings?
Standard E A D G B E is the tuning worth mastering first, and everything else builds on it. Drop D is the most common departure: lower only the low E string down a whole step to D, and the other five strings stay exactly where they are in standard tuning. It’s popular for heavier riffs and certain folk and rock songs because it gives you a low, droning root note without retuning the whole guitar.
Other tunings go further. Open G and open D tune multiple strings to form a full chord when strummed open, favoured in slide and blues playing. DADGAD, borrowed from Celtic and folk traditions, reshapes the whole set for a more open, ambient sound. Each of these has genuine musical value, but each also demands its own retuning routine, its own intonation quirks, and often a different string gauge to feel right under your fingers.
For a beginner, chasing alternate tunings before standard tuning is second nature usually backfires. Your ear hasn’t yet learned what “in tune” sounds like against a fixed reference, so an alternate tuning just removes that reference altogether. Spend real time locking down standard E A D G B E stability first, using a chromatic tuner every session until the process takes under a minute. Once that’s automatic, experimenting with drop D or open tunings becomes a genuinely enjoyable diversion rather than a source of confusion about why nothing sounds right.
Musicstreet perspective: what we see beginners do
The most common mistake isn’t poor technique. It’s tuning once, playing for twenty minutes, and never checking again, so a slipping peg or a worn nut slot goes unnoticed for weeks. A proper setup catches those hardware issues before they become habitual frustration, and it’s usually the difference between a guitar that holds tune and one that never quite does.
— Music
Products and services that help you keep tune
A handful of tools remove most of the frustration from staying in tune. The CruzTools Groovetech Guitar Player Tech Kit covers string changes and minor peg adjustments in one compact case, while the CruzTools Groovetech Acoustic Guitar Player Tech Kit is built specifically around acoustic hardware. The Groovetech Mini Multi-Tool is small enough to keep in a gig bag for quick fixes on the move.
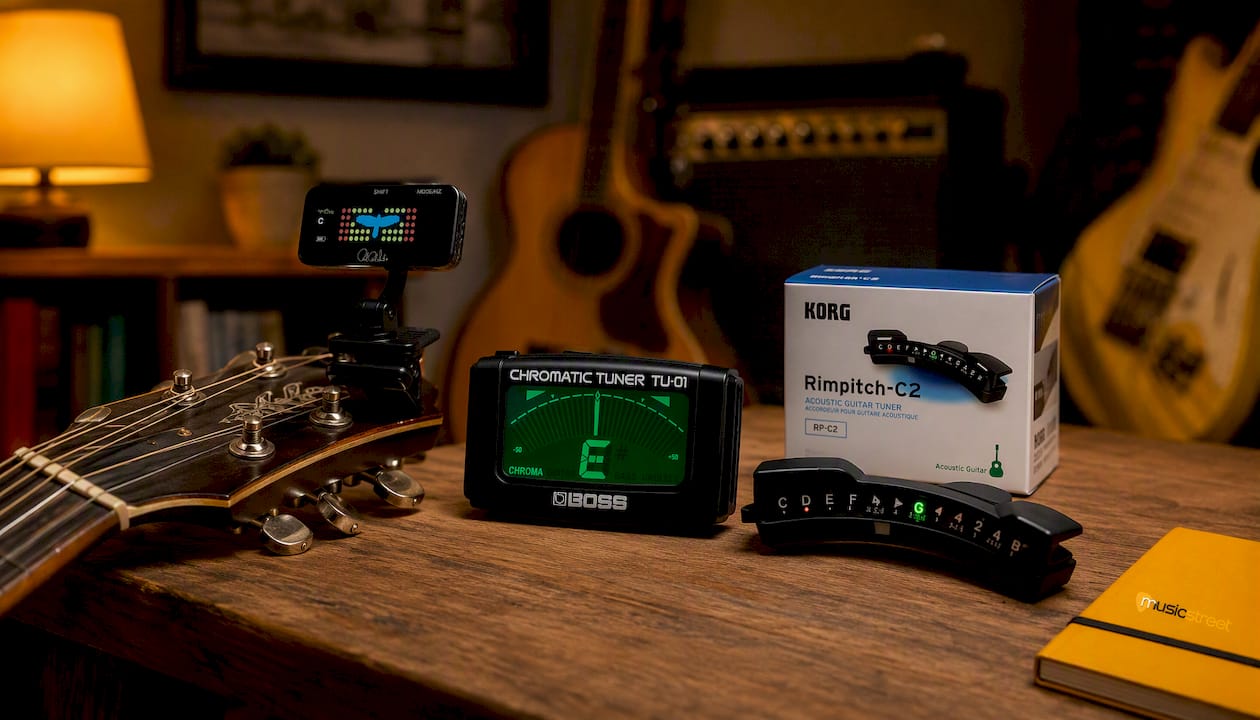
If your guitar has needed constant retuning for weeks despite stretching new strings and checking your technique, that’s a hardware conversation rather than a tuning one. Musicstreet’s in-store setup and inspection service checks nut slots, saddle intonation, and tuning peg action properly, catching the small faults that no amount of careful tuning can fix on its own. Browsing instruments? The Yamaha FGX5 Acoustic Guitar and the Yamaha FGC-TA TransAcoustic Electro Acoustic Cutaway both ship with hardware that holds tune reliably from day one. Head to the Musicstreet product pages to check availability, or book an in-store setup and have a technician look over your current guitar this week.
Key Takeaways
Reliable tuning comes down to using a chromatic or clip-on tuner, tuning up to pitch in order from low E to high E, and running a second pass every time.
| Point | Details |
|---|---|
| Tune in the right order | Go low E, A, D, G, B, high E, then repeat the full sequence once more. |
| Tune up to pitch | Approach each note from slightly flat rather than tuning down, for more stable results. |
| Wait for the sustain plateau | Let a plucked note settle before trusting the tuner’s reading, since the initial attack can read sharp. |
| Stretch new strings deliberately | Stretch gently at the 12th fret and retune repeatedly until pitch stops dropping. |
| Check intonation separately | Compare the open string to the 12th-fret note; mismatches usually mean a saddle adjustment from Musicstreet’s setup service. |
Sources
See Musicstreet’s electric guitar tuning guide and professional setup guide for deeper detail.
- Guitartuner
- Soundbrenner — master your instrument: chromatic tuner guide
- Guitar World — stretching new strings
- Mike Eiman — what is guitar intonation?
FAQ
What is DADGAD tuning?
DADGAD is an alternative tuning, low to high D A D G A D, favoured in Celtic, folk, and some modern acoustic styles for its open, droning quality. It’s worth exploring once standard tuning feels automatic, not before.
How do I know if my guitar is in tune?
A chromatic or clip-on tuner will show each string centred on its correct note with no sharp or flat indicator lit. As a secondary check, strum an open E, A, or G chord: a properly tuned guitar rings clean, while an out-of-tune string produces an audible clash or beating sound.
Is it hard to learn how to tune a guitar?
Using a tuner is straightforward and most beginners get comfortable within a few sessions, since it’s really just matching a needle or light to each string. Tuning entirely by ear takes longer to develop, because it depends on training your ear to hear small pitch differences accurately.
How do you tune a guitar to itself?
Use the fifth-fret method: fret the fifth fret of one string and match it to the next open string, moving low E to A, A to D, and D to G, except the B string, which is tuned from the fourth fret of G. This keeps the guitar in tune with itself but doesn’t guarantee it sits at concert pitch, so check against a tuner when playing with others.



Share:
The classical guitar scales that build technique fastest
How to read guitar sheet music: a beginner's method