

Last Updated: November 1, 2026
Quick Summary
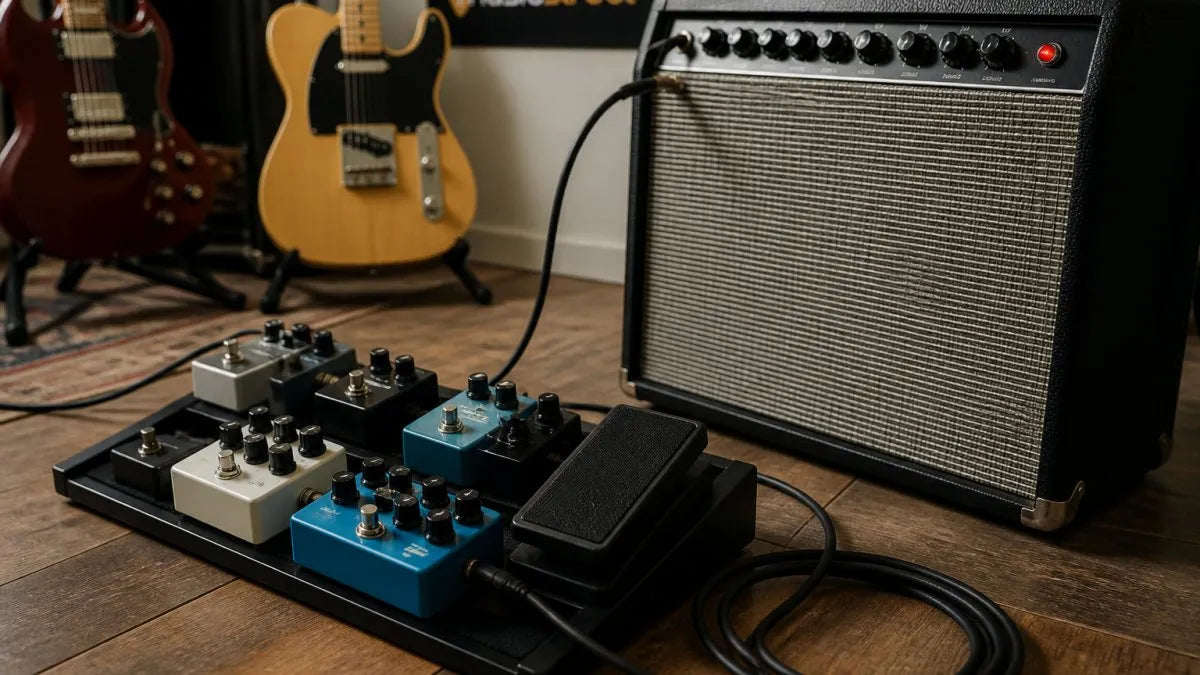
To connect your pedalboard to an amp, run a cable from your guitar into the first pedal, link each pedal's output to the next pedal's input, then take the last pedal's output to the amp's instrument input. Keep the amp switched off while connecting, then power it up last.
- Signal chain order typically runs tuner, wah, compressor, overdrive, modulation, delay, reverb, then volume pedal or boost.
- Match each pedal's voltage, usually 9V, and check polarity before powering anything up.
- Use a proper instrument cable for the final run to the amp, not a short patch cable.
- An effects loop sends delay and reverb after the preamp, keeping time-based effects cleaner.
- No sound usually means a cable, power fault or pedal that is switched off, so check one link at a time.
Table of Contents
- What You'll Need Before You Connect Your Pedalboard to Amp
- Step 1: Set Up Your Guitar Pedal Signal Chain Order
- Step 2: Plan Your Guitar Pedalboard Cable Setup
- Step 3: Learn How to Power Guitar Pedals Safely
- Step 4: Connect the Pedalboard to the Front of the Amp
- Step 5: Using the Amp's Effects Loop
- Guitar Pedalboard Troubleshooting: No Sound and Other Common Issues
- Shop Cables and Pedalboard Essentials at MusicStreet
- Frequently Asked Questions
What You'll Need Before You Connect Your Pedalboard to Amp
Getting a pedalboard to amp setup right starts with the basics. You need a guitar that holds tune, a working amp, and a handful of cables you trust. Miss any of these and you'll spend more time chasing faults than playing.
Here is what to have ready:
- Your guitar, freshly tuned
- Your amp, switched off at the wall
- Instrument cables for guitar-to-board and board-to-amp
- Short patch cables for linking pedals
- A power supply or daisy chain
- Spare batteries for any pedal that takes them
Players often buy great pedals, then lose tone to a cheap, worn cable. The cable is part of your signal path, not an afterthought.
If your guitar itself needs attention first, read a guide to electric guitar setup covering action, intonation and tuning before you plug anything in.
Step 1: Set Up Your Guitar Pedal Signal Chain Order
Signal chain order is the sequence your guitar signal travels through each pedal before it reaches the amp. Get it wrong and your drive pedals fight your modulation, or your tuner mutes the wrong thing.
A reliable starting order looks like this:
- Tuner
- Wah or filter
- Compressor
- Overdrive and distortion
- Modulation (chorus, phaser, flanger)
- Delay
- Reverb
- Volume pedal or boost
This is a starting point, not a law. Fuzz pedals often sound better first in the chain, before anything buffered. Some players prefer delay before reverb, others the reverse.
The common mistake is copying a stranger's board photo without testing. Your ears decide. Try one change at a time and listen.
Step 2: Plan Your Guitar Pedalboard Cable Setup
A tidy guitar pedalboard cable setup saves you from crackles, hum and dead spots mid-gig. Plan the cable runs before you stick anything down.
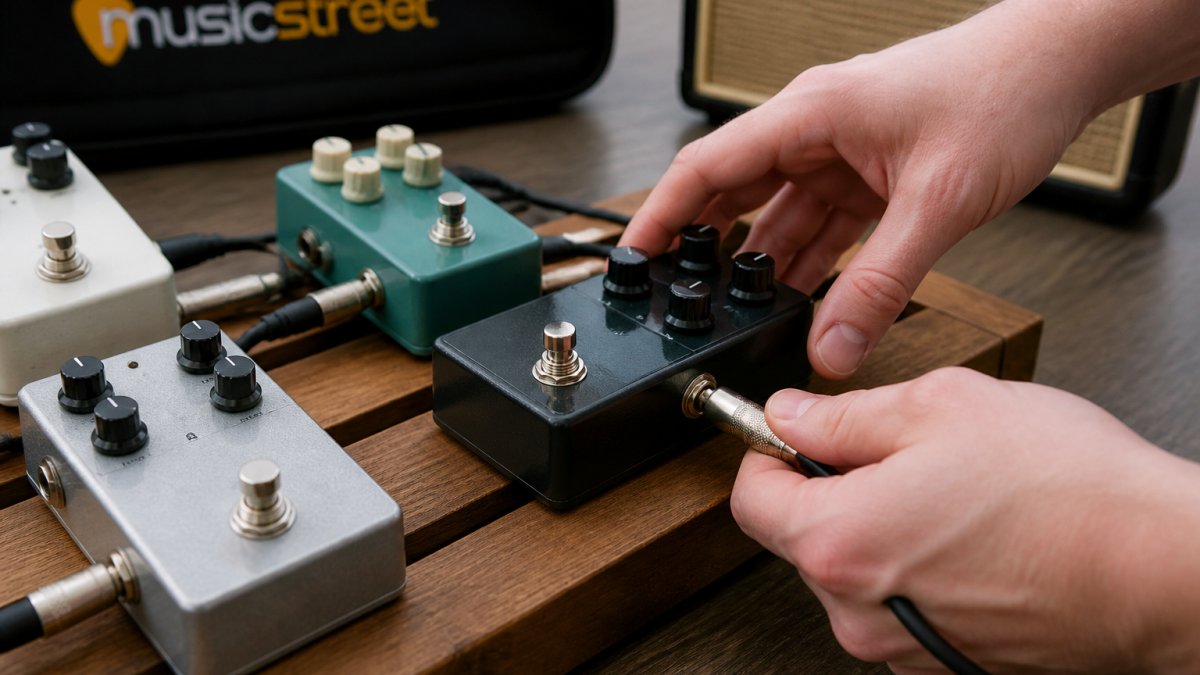
Work through it like this:
- Lay pedals out in your chosen order
- Measure each gap, then add a little slack
- Use short patch cables between neighbouring pedals
- Keep power and audio cables apart where you can
- Label both ends of longer runs
Short patch cables matter more than most players think. A pack of flat patch cables keeps the board compact and reduces strain on the jacks.
Klotz Pro Artist Guitar Cable - 3m →
For the run from your guitar to the board, a reliable lead is worth the spend. The Klotz Pro Artist Guitar Cable - 3m is a durable option for that job.

Step 3: Learn How to Power Guitar Pedals Safely
Learning how to power guitar pedals safely protects both your pedals and your ears. Most pedal faults we see come down to the wrong voltage or a shared supply that can't cope.
Follow these rules:
- Match the voltage printed on each pedal (usually 9V)
- Check polarity: centre-negative is standard, but confirm per pedal
- Add up the current draw in milliamps and leave headroom
- Never daisy chain digital pedals with analogue ones if you can avoid it
- Keep the power supply off the floor where it can get kicked
A daisy chain is the simplest way to power several pedals from one supply. The 3-way daisy chain suits a small board, while the 5-way daisy chain covers a larger one. Both distribute power cleanly from a single adapter.
Watch out: plugging an 18V pedal into a 9V supply, or the reverse, can kill it outright. Read the label on every pedal before you connect anything.
Step 4: Connect the Pedalboard to the Front of the Amp
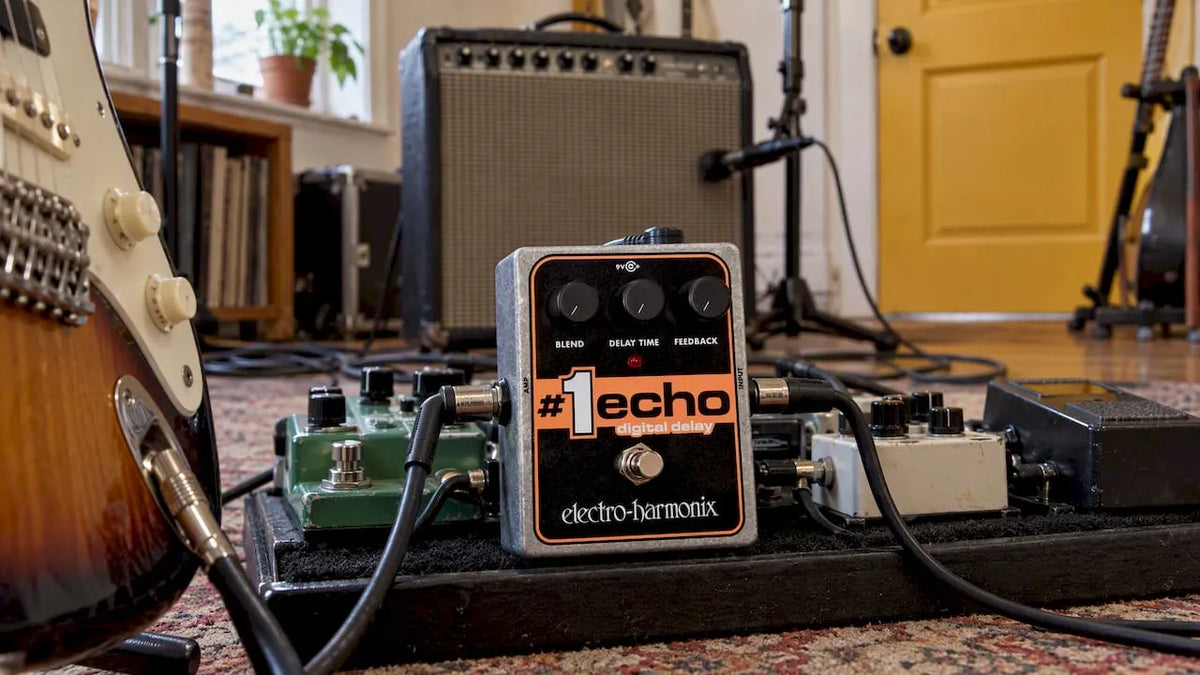
Connecting your board to the front of the amp is the standard approach for most setups. Run a cable from your last pedal's output to the amp's input jack.
The sequence is simple:
- Guitar into the first pedal's input
- Each pedal's output into the next pedal's input
- Last pedal's output into the amp's instrument input
- Power up the amp last
Keep the amp off while you connect everything. This avoids loud pops through the speaker.
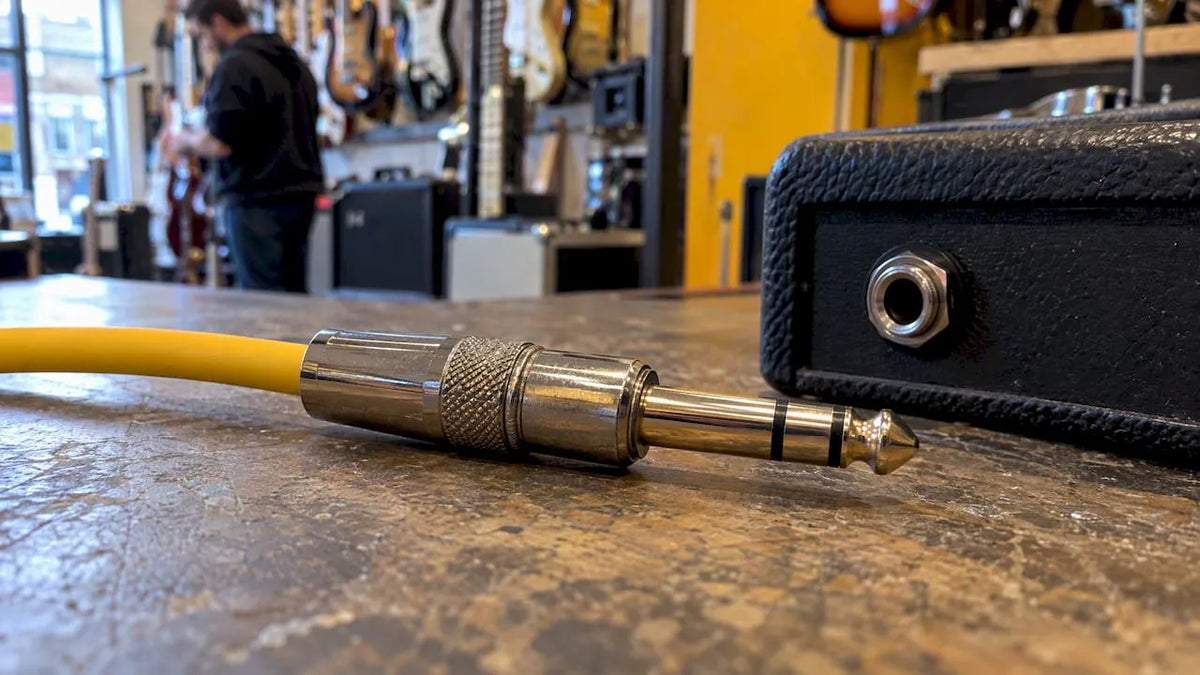
Use a proper instrument cable for the final run, not a patch cable. Patch cables are short by design and won't reach comfortably.
Step 5: Using the Amp's Effects Loop
An amp's effects loop sends your signal out after the preamp and back in before the power amp. It exists so time-based effects like delay and reverb sit after your gain, where they sound cleaner.
Use the loop like this:
- Run guitar into your drive pedals, then into the amp's front input
- Take the loop send to your delay and reverb
- Return from the last of those pedals to the loop return
Not every amp has a loop, and not every pedal belongs in one. Fuzz, wah and overdrive usually stay in front. Delay, reverb and chorus often sound better in the loop.
If your amp has no loop, don't worry. Plenty of great records were made with everything straight into the front.
Klotz Pro Artist Guitar Cable - 3m →
Guitar Pedalboard Troubleshooting: No Sound and Other Common Issues
No sound usually means a cable, a power fault or a pedal that's switched off. Work through the chain from guitar to amp, checking one link at a time.
Start here:
- No sound at all: check the amp is on, the volume is up, and the guitar cable is seated fully
- Crackling: a worn cable or dirty jack; swap cables one at a time
- Hum or buzz: often a power issue or a ground loop; try a separate supply
- Fizzy distortion: a buffered pedal clashing with a fuzz; move the fuzz first
- Volume drop: a failing patch cable or a pedal with a dying battery
If noise is your problem, it helps to understand whether a noise gate will actually fix it. Noise gates can help with some noise problems, but they can also mask the underlying cause.
The thing nobody tells you about troubleshooting: change one thing at a time. Swap everything at once and you'll never know what fixed it.
Work through the chain one link at a time, matching each symptom to its likely cause and fix.
| Problem | Cause | Fix |
|---|---|---|
| No sound at all | Amp off, volume down or cable not seated | Check amp, volume and guitar cable seating |
| Crackling | Worn cable or dirty jack | Swap cables one at a time |
| Hum or buzz | Power issue or ground loop | Try a separate supply |
| Fizzy distortion | Buffered pedal clashing with a fuzz | Move the fuzz first |
| Volume drop | Failing patch cable or dying battery | Replace the cable or battery |
Shop Cables and Pedalboard Essentials at MusicStreet
Getting your pedalboard to amp connection right comes down to good cables, clean power and a sensible signal chain. None of it is complicated once you've done it once.
At MusicStreet, we're a family-run guitar specialist, established in 2014, and every instrument we sell is expertly set up by players, for players. We stock hand-selected guitars, amps and pedals, and we run an in-house repair and setup workshop if your gear needs attention. Free UK delivery applies on orders over £99.
Get started with MusicStreet and build a board that sounds as good as it looks. Browse our Klotz Pro Artist Guitar Cable - 3m (£37.00), Ernie Ball Angled Guitar Cable Neon Yellow - 3m (£25.99), KIRLIN FABRIC 10' STRAIGHT - STRAIGHT BLUE 3m cable (£9.99) and Ernie Ball 3" Patch Cable - 3 Pack Black (£23.99) today.


Frequently Asked Questions
Does the guitar go into the pedalboard or the amp first?
The guitar always plugs into the pedalboard first, then the pedalboard's output goes to the amp. The signal starts at your guitar, travels through each pedal in your chain, and then into the amplifier's input. Plugging the guitar straight into the amp and the pedalboard somewhere else breaks the chain and will give you silence or a very weak signal. Follow the path: guitar, pedalboard input, pedals in order, pedalboard output, amp input.
What cables do I need to connect a pedalboard to an amp?
You need three types of cable. A standard instrument cable runs from your guitar to the pedalboard input. Short patch cables link each pedal together on the board. A second full-length instrument cable runs from the pedalboard output to the amp. For the guitar-to-board and board-to-amp runs, a 3-metre cable such as the Klotz Pro Artist gives you room to move without tangling, while patch cables like the Ernie Ball 3-inch pack keep the board tidy.
Can you connect a pedalboard to an amp's effects loop?
Yes, and many players prefer it for modulation, delay and reverb pedals. The effects loop sits after the amp's preamp stage, so time-based effects sound cleaner there. Run a cable from the amp's Send to the input of your loop pedals, then from their output back to the amp's Return. Keep drive and wah pedals in front of the amp input instead. If your amp has no effects loop, run everything into the front input and adjust to taste.
Why is there no sound when my pedalboard is connected?
Start with power. Check every pedal has a supply and that the polarity and voltage match the pedal's requirements. Next, test each cable one at a time, because a single faulty patch cable will kill the whole chain. Confirm the guitar is in the pedalboard input and the board output goes to the amp input, not the other way round. Finally, check each pedal's footswitch is engaged and its level control is turned up.




Share:
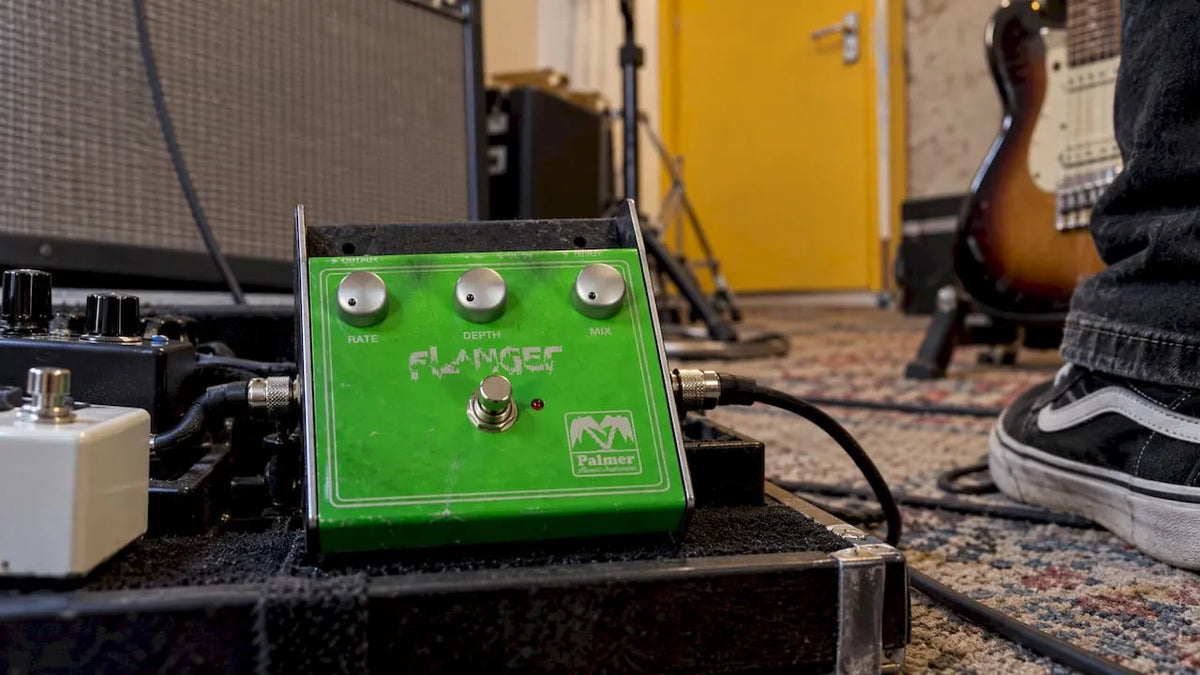
What Does a Flanger Do? The Jet-Sweep Effect Explained