


Standard tuning is E-A-D-G-B-E from the lowest string to the highest, with the reference pitch set at A = 440 Hz. The fastest, most reliable way to get there is a chromatic or clip-on tuner, though tuning by ear with a fork or piano works well once you have practised it. Both methods land you at the same six notes, just at different speeds.
Table of Contents
- Essential tools: tuners, tuning forks, apps and basic kit
- Step-by-step: tune with a chromatic or clip-on tuner
- Step-by-step: tuning by reference tone and by ear (relative tuning)
- Harmonics for fine tuning and how to approach alternate tunings
- Fixes for common tuning problems and when to get professional help
- MusicStreet expertise: what a professional setup does for tuning
- What actually matters when you tune a guitar
- Quick kit and services from MusicStreet
- Sources
- FAQ
Essential tools: tuners, tuning forks, apps and basic kit
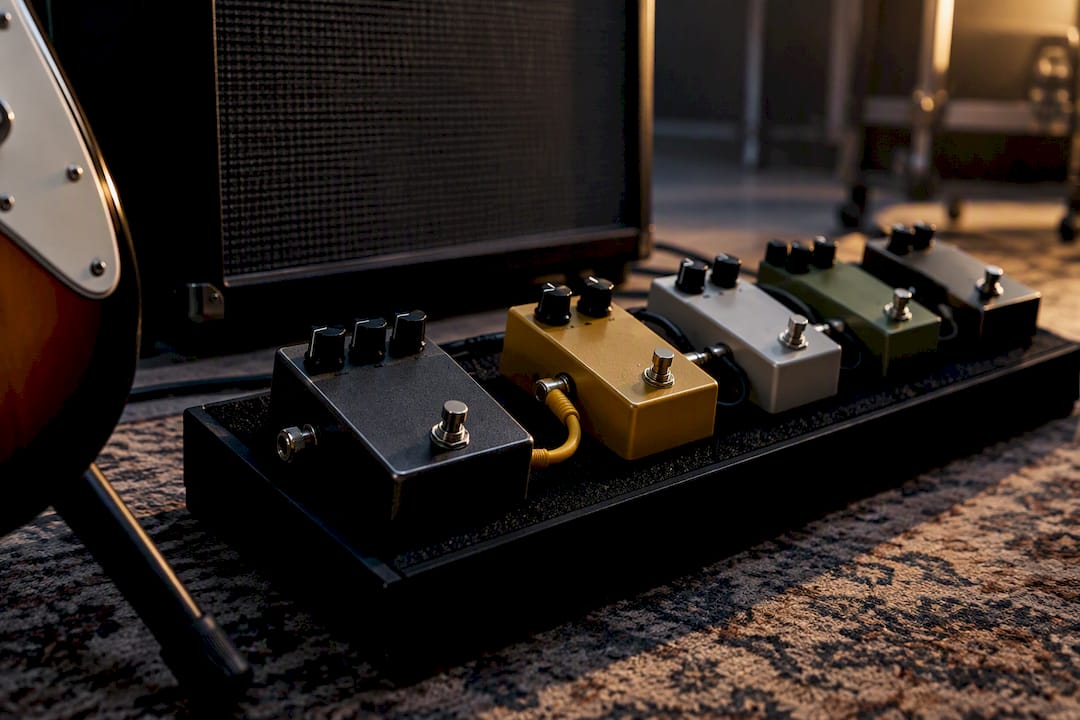
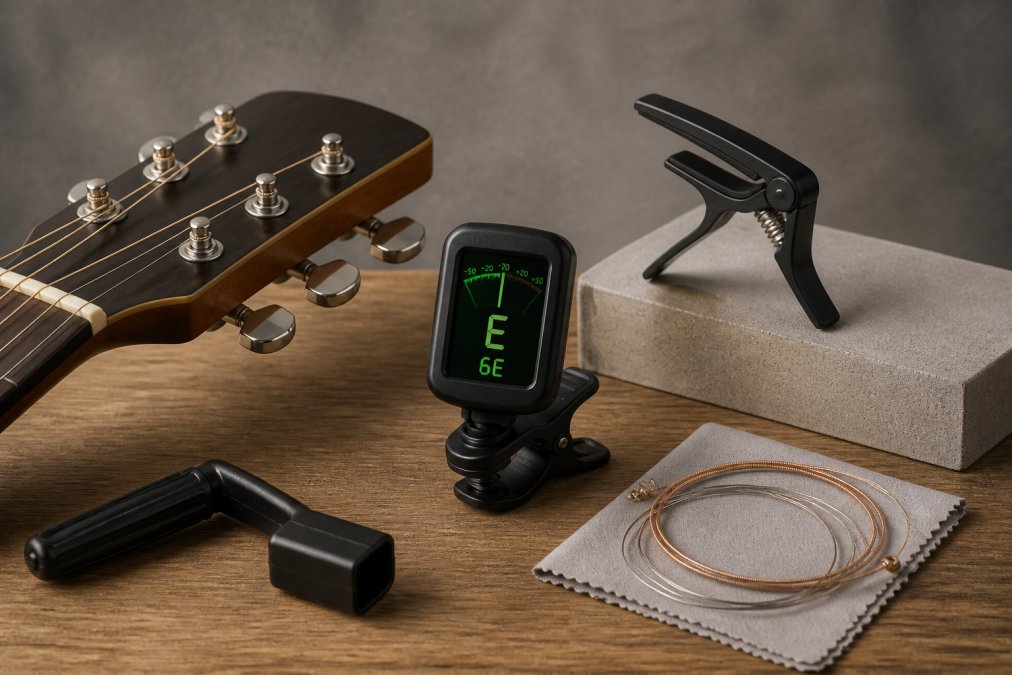
Picking the right tool comes down to where you play and how much noise is around you. A clip-on headstock tuner reads the vibration through the wood rather than the sound in the air, which makes it the most dependable choice for practice at home or tuning quietly backstage. Pedal tuners are built for the stage: they mute the signal while you tune, so a room full of chatter or a soundcheck in progress will not throw off the reading. Handheld chromatic tuners sit between the two, useful for acoustic instruments with no pickup, and phone apps are a free option that work reasonably well in a quiet room but struggle once there is background noise.

A tuning fork or a piano gives you a stable reference tone without batteries or a screen. Striking an A fork and matching your open A string, or picking out the same note on a piano, anchors your ear before you tune the rest by relation. It is slower than an electronic tuner but it is the method that actually teaches you to hear pitch, not just read it.
For anyone assembling a basic kit, three items cover most situations:
- A clip-on tuner, such as the PRS Clip-On Headstock Tuner, for fast, silent tuning anywhere.
- A rechargeable handheld tuner, such as the Fender Flash Tuner 2.0, for players who want a screen that is easy to read on a dim stage.
- A maintenance kit, such as the CruzTools Groovetech Guitar Player Tech Kit, which bundles the tools you need for string changes and small adjustments that affect tuning stability.
Each does a different job, and having all three means you are never stuck without a way to check pitch, whatever the setting.
Step-by-step: tune with a chromatic or clip-on tuner
Start by clipping the tuner to the headstock, or plugging into a pedal tuner if you are using one, and switch it to chromatic mode so it reads every semitone rather than snapping to the nearest string name. Mute any other noise in the room where you can. Calibrate the display to A = 440 Hz, which is standard for most solo and band playing, though many tuners let you shift this between roughly 436 Hz and 444 Hz for matching an older piano or a fixed-pitch instrument.
- Pluck the low E string and watch the display: a needle or light left of centre means the string is flat and needs tightening, right of centre means sharp and needs loosening.
- Turn the tuning peg in small movements, plucking again after each turn, until the display sits centred and steady.
- Move to the A string and repeat, then D, G, B and finally the high E, working in that order so you are not fighting tension changes from the strings you have already set.
- Once all six are done, strum a full chord and re-check each string, since bringing one string to pitch often nudges the others slightly out.
- Check intonation loosely by comparing an open string against its 12th-fret harmonic. A big mismatch points to a setup issue rather than a tuning one.
Pro Tip: Tune up to pitch rather than down. If a string reads sharp, loosen it slightly below the target and bring it back up, since this keeps tension settled in the tuning peg and holds pitch longer.
If the tuner is not responding, check the battery first on a clip-on or handheld unit, since a weak battery often causes flickering or dead displays before it fully cuts out. A false reading, where the display jumps between two notes, usually means background noise is bleeding into a microphone-based tuner: switch to a pedal tuner or a clip-on that reads vibration instead of sound. If the string will not settle no matter how carefully you turn the peg, the string may be catching in the nut slot, which is a mechanical issue rather than a tuning one.
Step-by-step: tuning by reference tone and by ear (relative tuning)
Tuning without electronics starts with one fixed point. Strike a tuning fork tuned to A, or find A on a piano, and match your open A string to it by ear, listening for the wavering “beat” sound to disappear as the two pitches align. Once that string is set, every other string is tuned relative to it.
- With A in tune, press the 5th fret of the low E string. That note should match the open A string; adjust the E string’s tuning until they sound identical.
- Press the 5th fret of the A string and match it to the open D string.
- Press the 5th fret of the D string and match it to the open G string.
- For the B string, the pattern changes: press the 4th fret of the G string, not the 5th, and match that to the open B string.
- Press the 5th fret of the B string and match it to the open high E string, completing the set.
A quick way to verify the result is to play a basic open chord, such as E major or G major, and listen for roughness. A chord that sounds slightly sour usually means one string has drifted during the process. This is the main weakness of relative tuning: small errors at each step can stack up by the time you reach the high E string, so it is worth rechecking the low E against a fixed reference once you have gone all the way through. With practice, this method sharpens your relative pitch in a way that glancing at a tuner display never will.
Harmonics for fine tuning and how to approach alternate tunings
Harmonics give you a cleaner, more precise comparison than fretted notes because the bell-like tone rings longer and is easier to judge by ear. Playing the harmonic at the 5th fret of one string and the harmonic at the 7th fret of the adjacent string should produce the same pitch when both strings are in tune, and any difference is easy to hear as a slow pulsing beat.
- Touch the string lightly directly above the fret wire, rather than pressing down, to sound the harmonic cleanly.
- Compare the 5th-fret harmonic on the low E string with the 7th-fret harmonic on the A string, and work up the neck in the same pattern.
- Listen for the beat frequency to slow down and vanish as you adjust, which is a more accurate cue than watching a needle.
For alternate tunings such as dropped D or a half-step down, a chromatic tuner is genuinely useful rather than optional, since it recognises all twelve semitones instead of snapping to the nearest standard-tuning note. Lowering or raising your overall pitch changes the tension across the neck, which can shift neck relief slightly, so it is worth rechecking tuning again a few minutes after a big pitch change rather than assuming it will hold.
Pro Tip: When switching to a dropped tuning permanently, give the guitar a few hours to settle before judging whether the neck needs adjustment, since wood and truss rod tension respond slowly to a tension change.
Fixes for common tuning problems and when to get professional help
New strings are the most common cause of a guitar that will not hold pitch. They stretch during the first hours of play, and the fix is straightforward: after restringing, gently pull each string away from the fretboard a few times and re-tune, repeating until the pitch stops dropping after each pull. Skipping this step means retuning constantly for the first few sessions.
Friction at the nut or tuning pegs is the next most common culprit. A string that catches in a rough nut slot will bind and then jump, throwing pitch off even when the peg has not moved. A dab of graphite or a proper nut lubricant reduces this, and winding strings neatly around the peg post, rather than overlapping them, keeps tension even. Players who retune often, especially those using a whammy bar, may find locking tuners worth considering since they clamp the string at the post and largely remove slippage as a variable.
Temperature and humidity swings affect tuning stability too: wood and strings respond to changes in a room, which is why a guitar left near a radiator or taken between a cold car and a warm venue often needs a retune before you play.
- Stretch new strings by hand before your first tuning session.
- Lubricate the nut slots if a string catches or pings out of tune.
- Store the guitar away from direct heat, radiators and humidity swings.
A guitar with a worn nut or poorly cut string slots will struggle to hold pitch no matter how careful you are with the tuner, which is where a professional setup makes the difference that a home fix cannot.
MusicStreet expertise: what a professional setup does for tuning
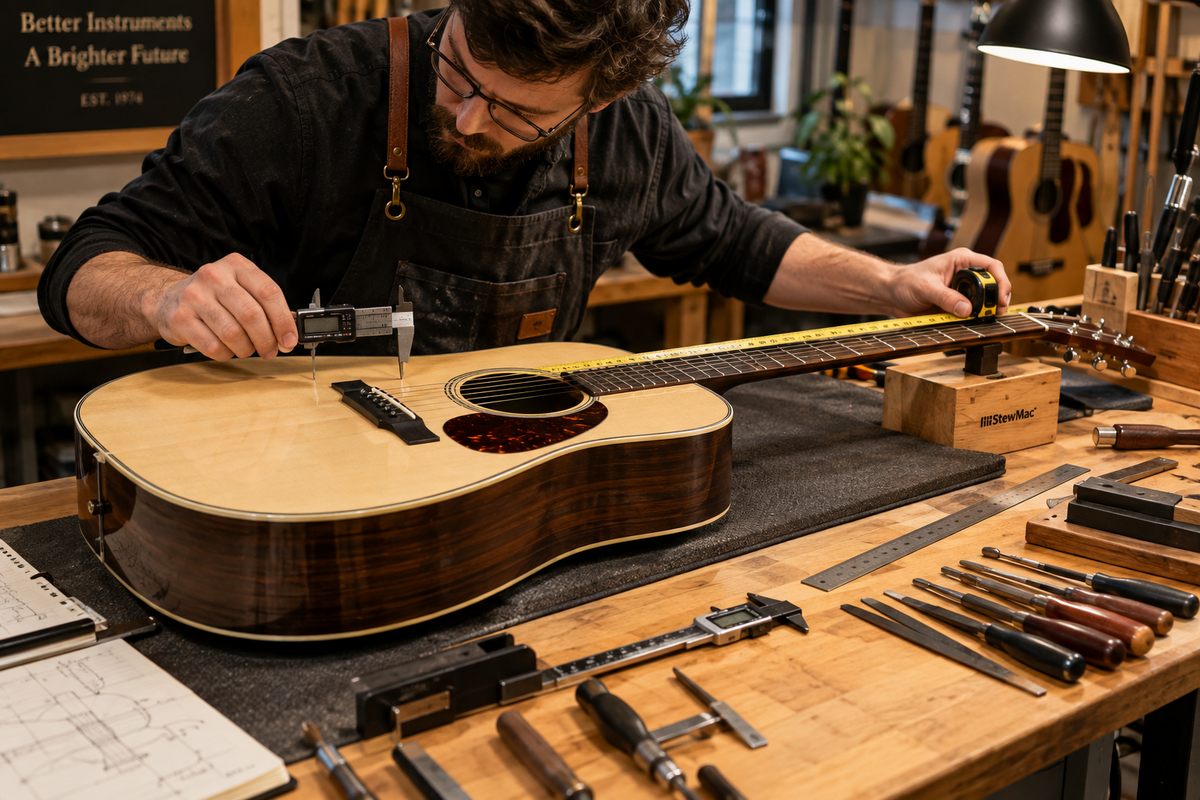
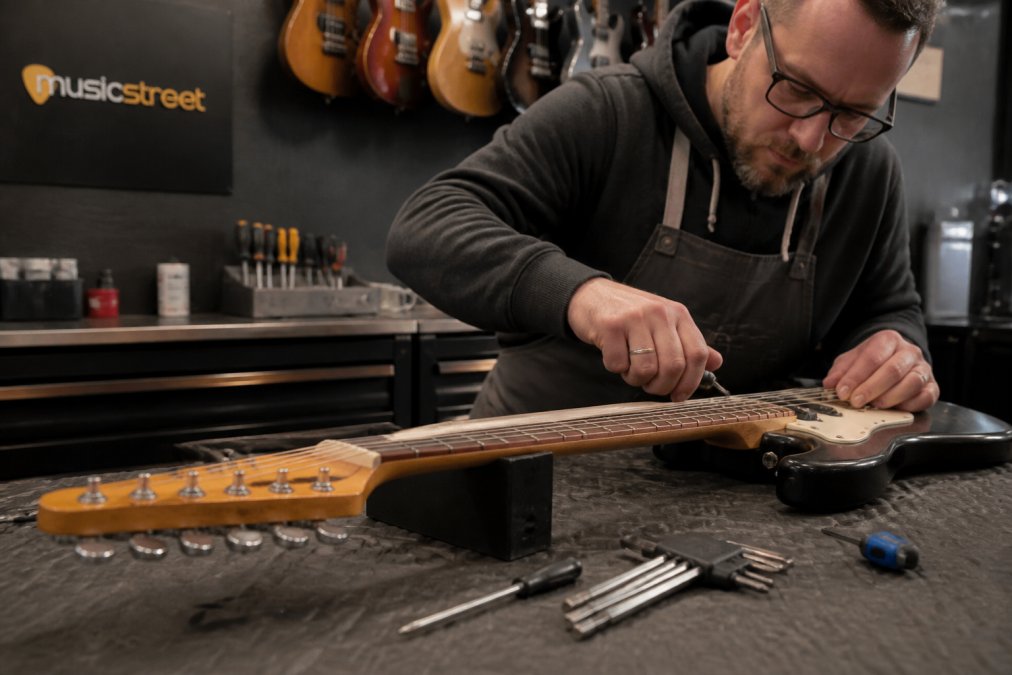
A professional setup covers several details that directly affect how well a guitar holds pitch: nut slots cut to the correct width and depth, action set to a height that keeps strings from binding, bridge height adjusted for even pressure across all six strings, and intonation checked so notes stay accurate up the neck rather than drifting sharp past the 12th fret. Each of these interacts with tuning stability in a way a tuner alone cannot fix.
MusicStreet’s guitar setups, servicing and repairs, along with the in-store restring service, start from a full inspection of the instrument before any adjustment is made, so problems like a worn nut slot or an uneven bridge saddle are caught rather than papered over. That inspection is standard on every setup, whether the guitar is new or has been played for years.
What actually matters when you tune a guitar
Most tuning advice treats electronic tuners and ear training as rivals, and that framing does not hold up. A tuner gets you to pitch faster, but it will not teach you to hear when a chord is slightly sour, and that skill matters more than most beginners are told. The real gap in most guides is that they present one method as the answer, when the two are complementary: use a tuner for speed and reliability day to day, and practise relative tuning by ear often enough that you start noticing pitch problems before you even glance at a display.
The other underrated point is maintenance. Plenty of players chase a “better” tuner when the actual problem is a nut slot that binds or strings that were never stretched properly after a change. No tuner fixes a mechanical fault. If your guitar drifts out of tune within minutes of playing, check the basics, stretched strings, a clean nut, even winding, before assuming you need new gear. Get those right first, and any decent tuner will do the rest.
— Music
Quick kit and services from MusicStreet

A dependable tuning routine starts with the right pair of tools rather than a drawer full of gadgets. For everyday practice and gigging, we would pair the CruzTools Groovetech Guitar Player Tech Kit with either the PRS Clip-On Headstock Tuner for quiet, fast tuning or the Fender Flash Tuner 2.0 if you want a screen that is easy to read on a dark stage. The tech kit covers the small adjustments and string changes that keep a guitar holding pitch between setups.
- Pair a clip-on tuner with the tech kit for a complete, portable tuning and maintenance setup.
- Book a restring or full setup in-store for nut, action and intonation work that a home toolkit cannot replicate.
- Browse electric, acoustic or bass guitars if an ageing instrument is the real reason it will not stay in tune.
If your guitar has been fighting you on tuning for a while, get in touch with MusicStreet about a setup or restring, or take a look at the accessories and guitar cases that help protect your instrument between sessions.
Sources
For more detail on the methods covered here, these sources are worth a look: the Nashville beginners’ guide to tuning, wikiHow’s guide to tuning without a tuner, BBC Music’s learning resources for guitar, and Yamaha’s guide to tuner calibration.
- Beginners’ guide: tuning a guitar
- How to tune a guitar without a tuner
- Using the guitar tuner on a DG STOMP
FAQ
How do I tune a guitar on my own without help?
Set your low E, A, D, G, B and high E strings to standard tuning using either a clip-on or chromatic tuner, or by matching each string to the 5th-fret relative tuning method starting from a reference A. Either approach works alone once you have practised the sequence a few times.
How should a beginner tune their guitar?
Beginners generally find an electronic tuner easier to start with, since it shows the note name and how far off pitch you are without needing trained ears. A clip-on or handheld tuner reading vibration through the headstock gives the clearest, most forgiving feedback while you learn.
What does “tuning up” a guitar actually mean?
Tuning up means adjusting each string to its correct pitch in standard tuning, E-A-D-G-B-E, so that notes and chords sound correct together. It is done before every practice session since strings drift slightly even with normal use.
Can I tune my guitar using a free tool online?
Yes, plenty of free tuner apps and web-based tuners work using your phone or computer microphone, though they can struggle in noisy rooms compared with a clip-on tuner that reads vibration directly. For quiet, reliable results, a clip-on or handheld tuner tends to outperform a microphone-based app.




Share:
Is Professional Intonation Setup Necessary? A 2026 Guide
Stop Guessing Rhythm: 7 Step Guitar Tablature Plan, Shop Support